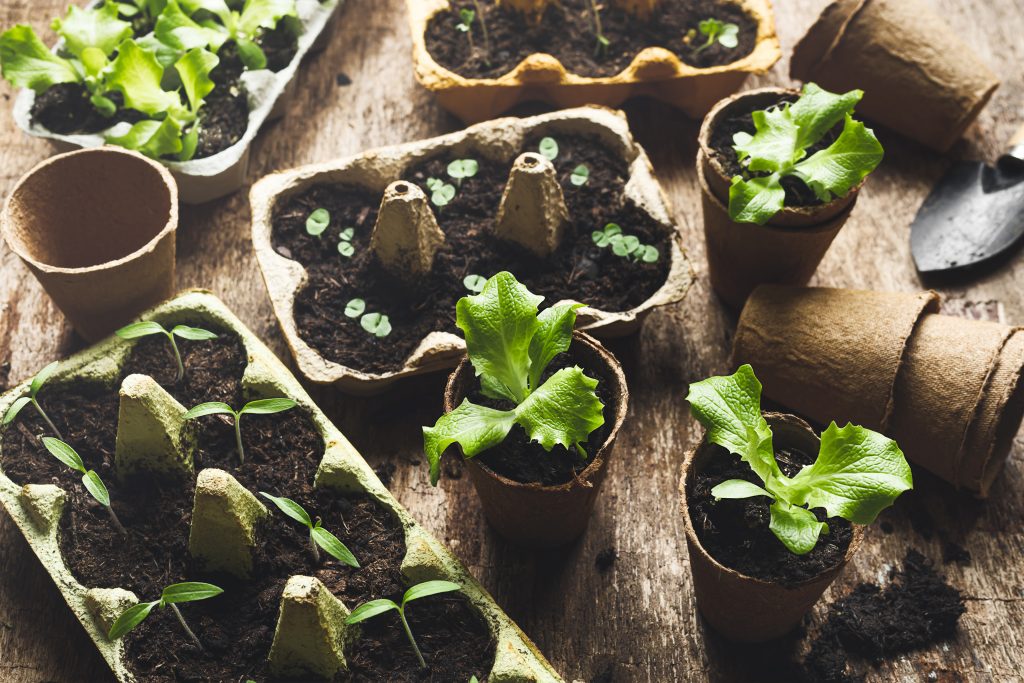
How to Germinate Seeds Ahead of Spring
There are weeks to go before the telltale signs of spring emerge and the weather warms enough for you to crouch over your garden again. But you don’t have to wait for your yard to shake off its winter coat to start pushing seeds into soil. With our guide to germinating seeds, you can start right now.
Why Should I Germinate Seeds Indoors?
Seed germination, or the process of sprouting plants from seeds, is a cinch — even if your thumb is pitch black. Even better, it can be done right in your home. Further benefits include bigger blooms with longer life spans and a happier wallet. Starting a spring garden from seed packets is often cheaper than buying one-offs from the local nursery.

Which Seeds Should I Use?
Some seeds would rather never see the light of a grow lamp, so stick with tender vegetables and slower-root plants such as tomatoes and eggplants; lettuce and spinach; broccoli and peppers; Brussels sprouts, cabbage, and cauliflower. As for florals, sunflowers, geraniums, impatiens, dahlias, cosmos, asters, petunias, marigolds, pansies, and zinnias are all good choices.
Pro tip: When buying seeds — or fishing them out of a junk drawer — make sure they’re no older than two years. You want fresh, lively seeds for germinating indoors.
What Supplies Will I Need?
The horticulture space is flooded with no-fail seed-starting kits, and you’re welcome to go that route, but here’s a more complete list of supplies to get your seedlings from tray to trellis.
- Seed-starting mix or lightweight, moisture-retaining soil
- Spray bottle
- Seedling tray with cells, dip tray, and cover
- Seed packets
- Plant labels
- Fluorescent or LED grow lights
- Heat mat
- Watering can with nozzle
- Water-soluble fertilizer
- Tweezers
When and How Should I Germinate Seeds?
Timing depends on what you’re growing and where. Check out an annual garden calendar for a cheat sheet. Most seedlings, however, need at least six weeks to germinate before being moved outdoors.
Prepare and Sow
Pour your soil into a big bowl. Spray it with water and mix until evenly moist. Fill each seed cell with moist soil until almost full, pushing down so the surface is firm and level. With tiny seeds, you can plant several in one pot. Simply sprinkle them over the soil’s surface, cover with more soil, and spray with water. For larger seeds, sow one seed per pot. Lightly push the seed below the soil’s surface, cover with more soil, then water.
Cover and Warm
Seedlings look alike, so now’s a good time to label them. Next, affix the cover over the seedling tray. This creates a greenhouse effect, capturing necessary moisture and heat. Direct sunlight is too harsh for delicate seedlings, so set grow lights to 60–70 F, about 2–3 inches overhead, for 12–16 hours a day. Add a heat mat to combat fungus.
Water and Feed
Consistent moisture is key, and a spray bottle is your best bet for avoiding oversaturation. Once your seedlings sprout, you can switch to a watering can and gently fill the tray with room-temperature water. When a third of your seeds have sprouted, you can remove the cover (mind the evaporation rate), and when the first true leaves have grown, you can start fertilizing.
Trim and Transplant
Trimming encourages larger plants. So, use a pair of tweezers to remove all but the healthiest-looking one or two sprouts. When your seedlings have grown at least two sets of true leaves, they’re ready to begin the process of hardening off. Start with an hour in a shaded area outdoors, increasing exposure to sunlight daily over the course of a week until they are ready for planting.
Once your seedlings are one with Mother Nature, get ahead of seasonal heat waves with this guide to spring gardening in Texas.
© 2025 Texas Farm Bureau Insurance


