Please sign in as a member or guest below to access it.
Please sign in as a member or guest below to access it.
Bath bombs are popular self-care staples that turn tubs into fizzy luxury spas, and when you make your own, you know exactly what you’re soaking in.
Bath bombs are popular self-care staples that turn tubs into fizzy luxury spas, but many are less than upfront about the ingredients they contain. When you make your own bath bombs, you know exactly what you’re soaking in, avoiding skin irritation or infection. Here, we’ll outline everything you need to create your own DIY bath bombs and shower melts, which can be excellent decongestants.
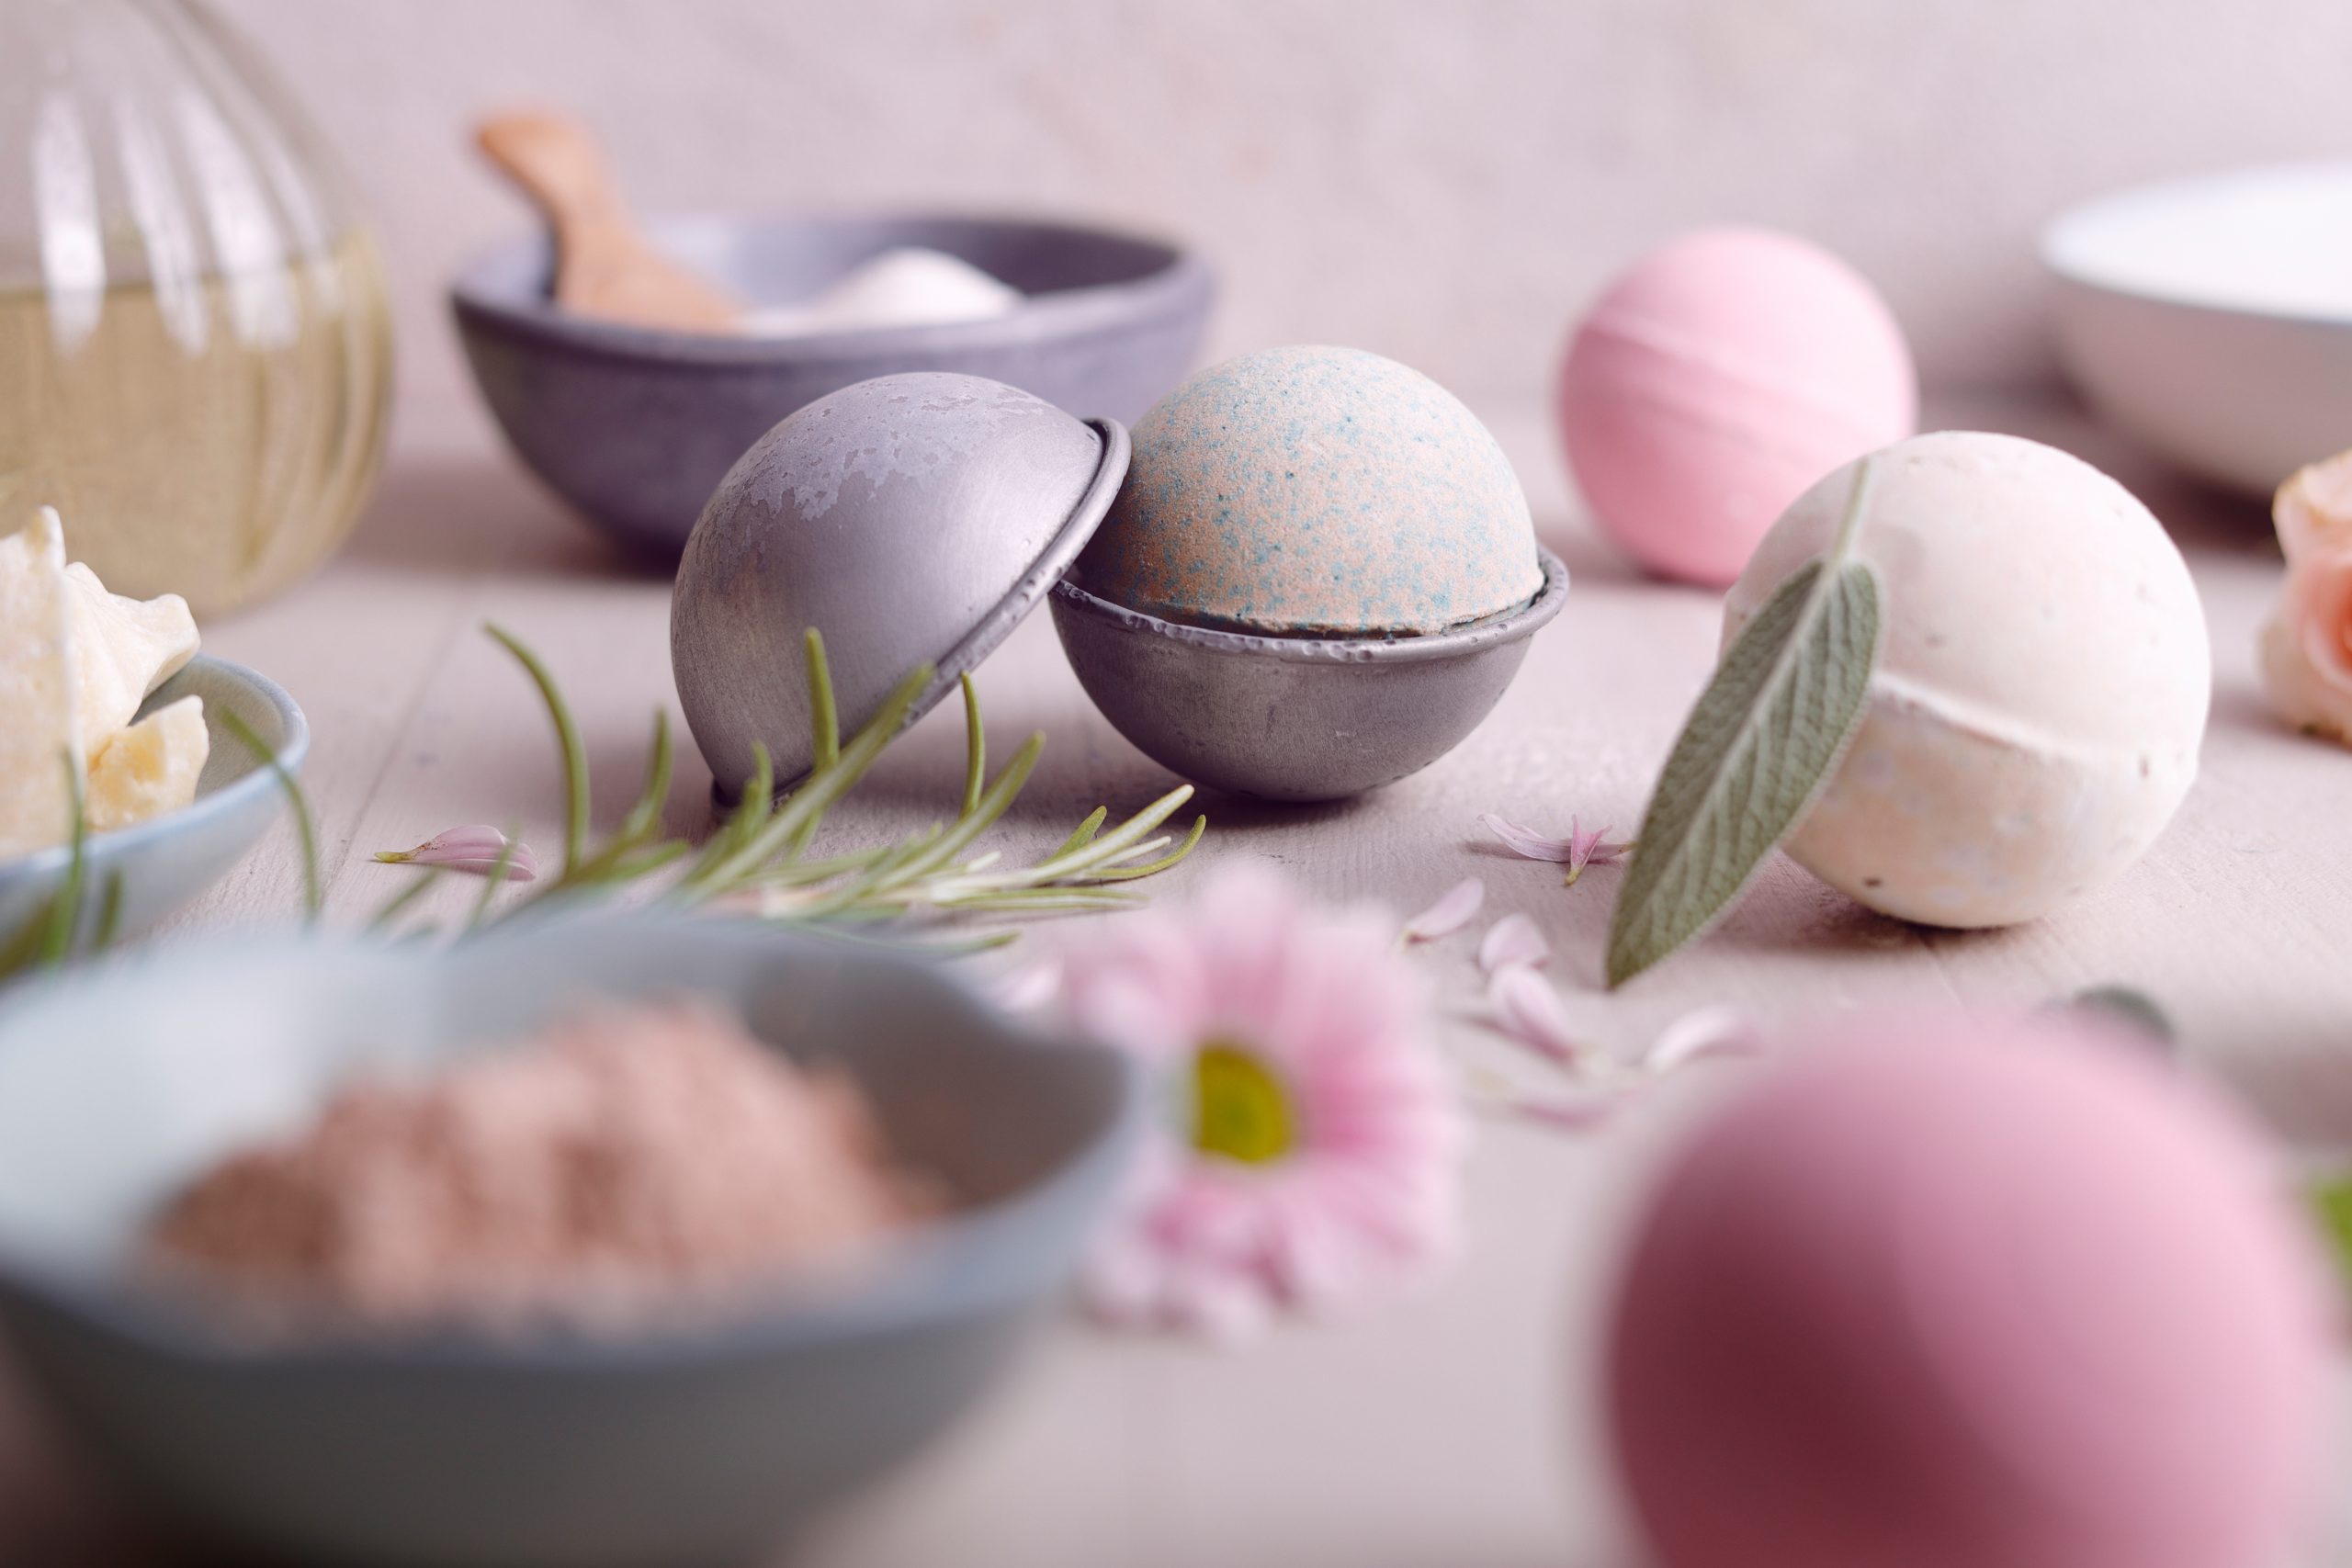
You can buy silicone, plastic, or stainless steel molds online or from craft and hobby stores. Small, simple shapes, like spheres, are easiest for beginners. You can simplify even more by using muffin tins or ice cube trays, or experiment with fancier shapes once you’ve mastered the basics!
Ingredients
Optional Ingredients:
Method:
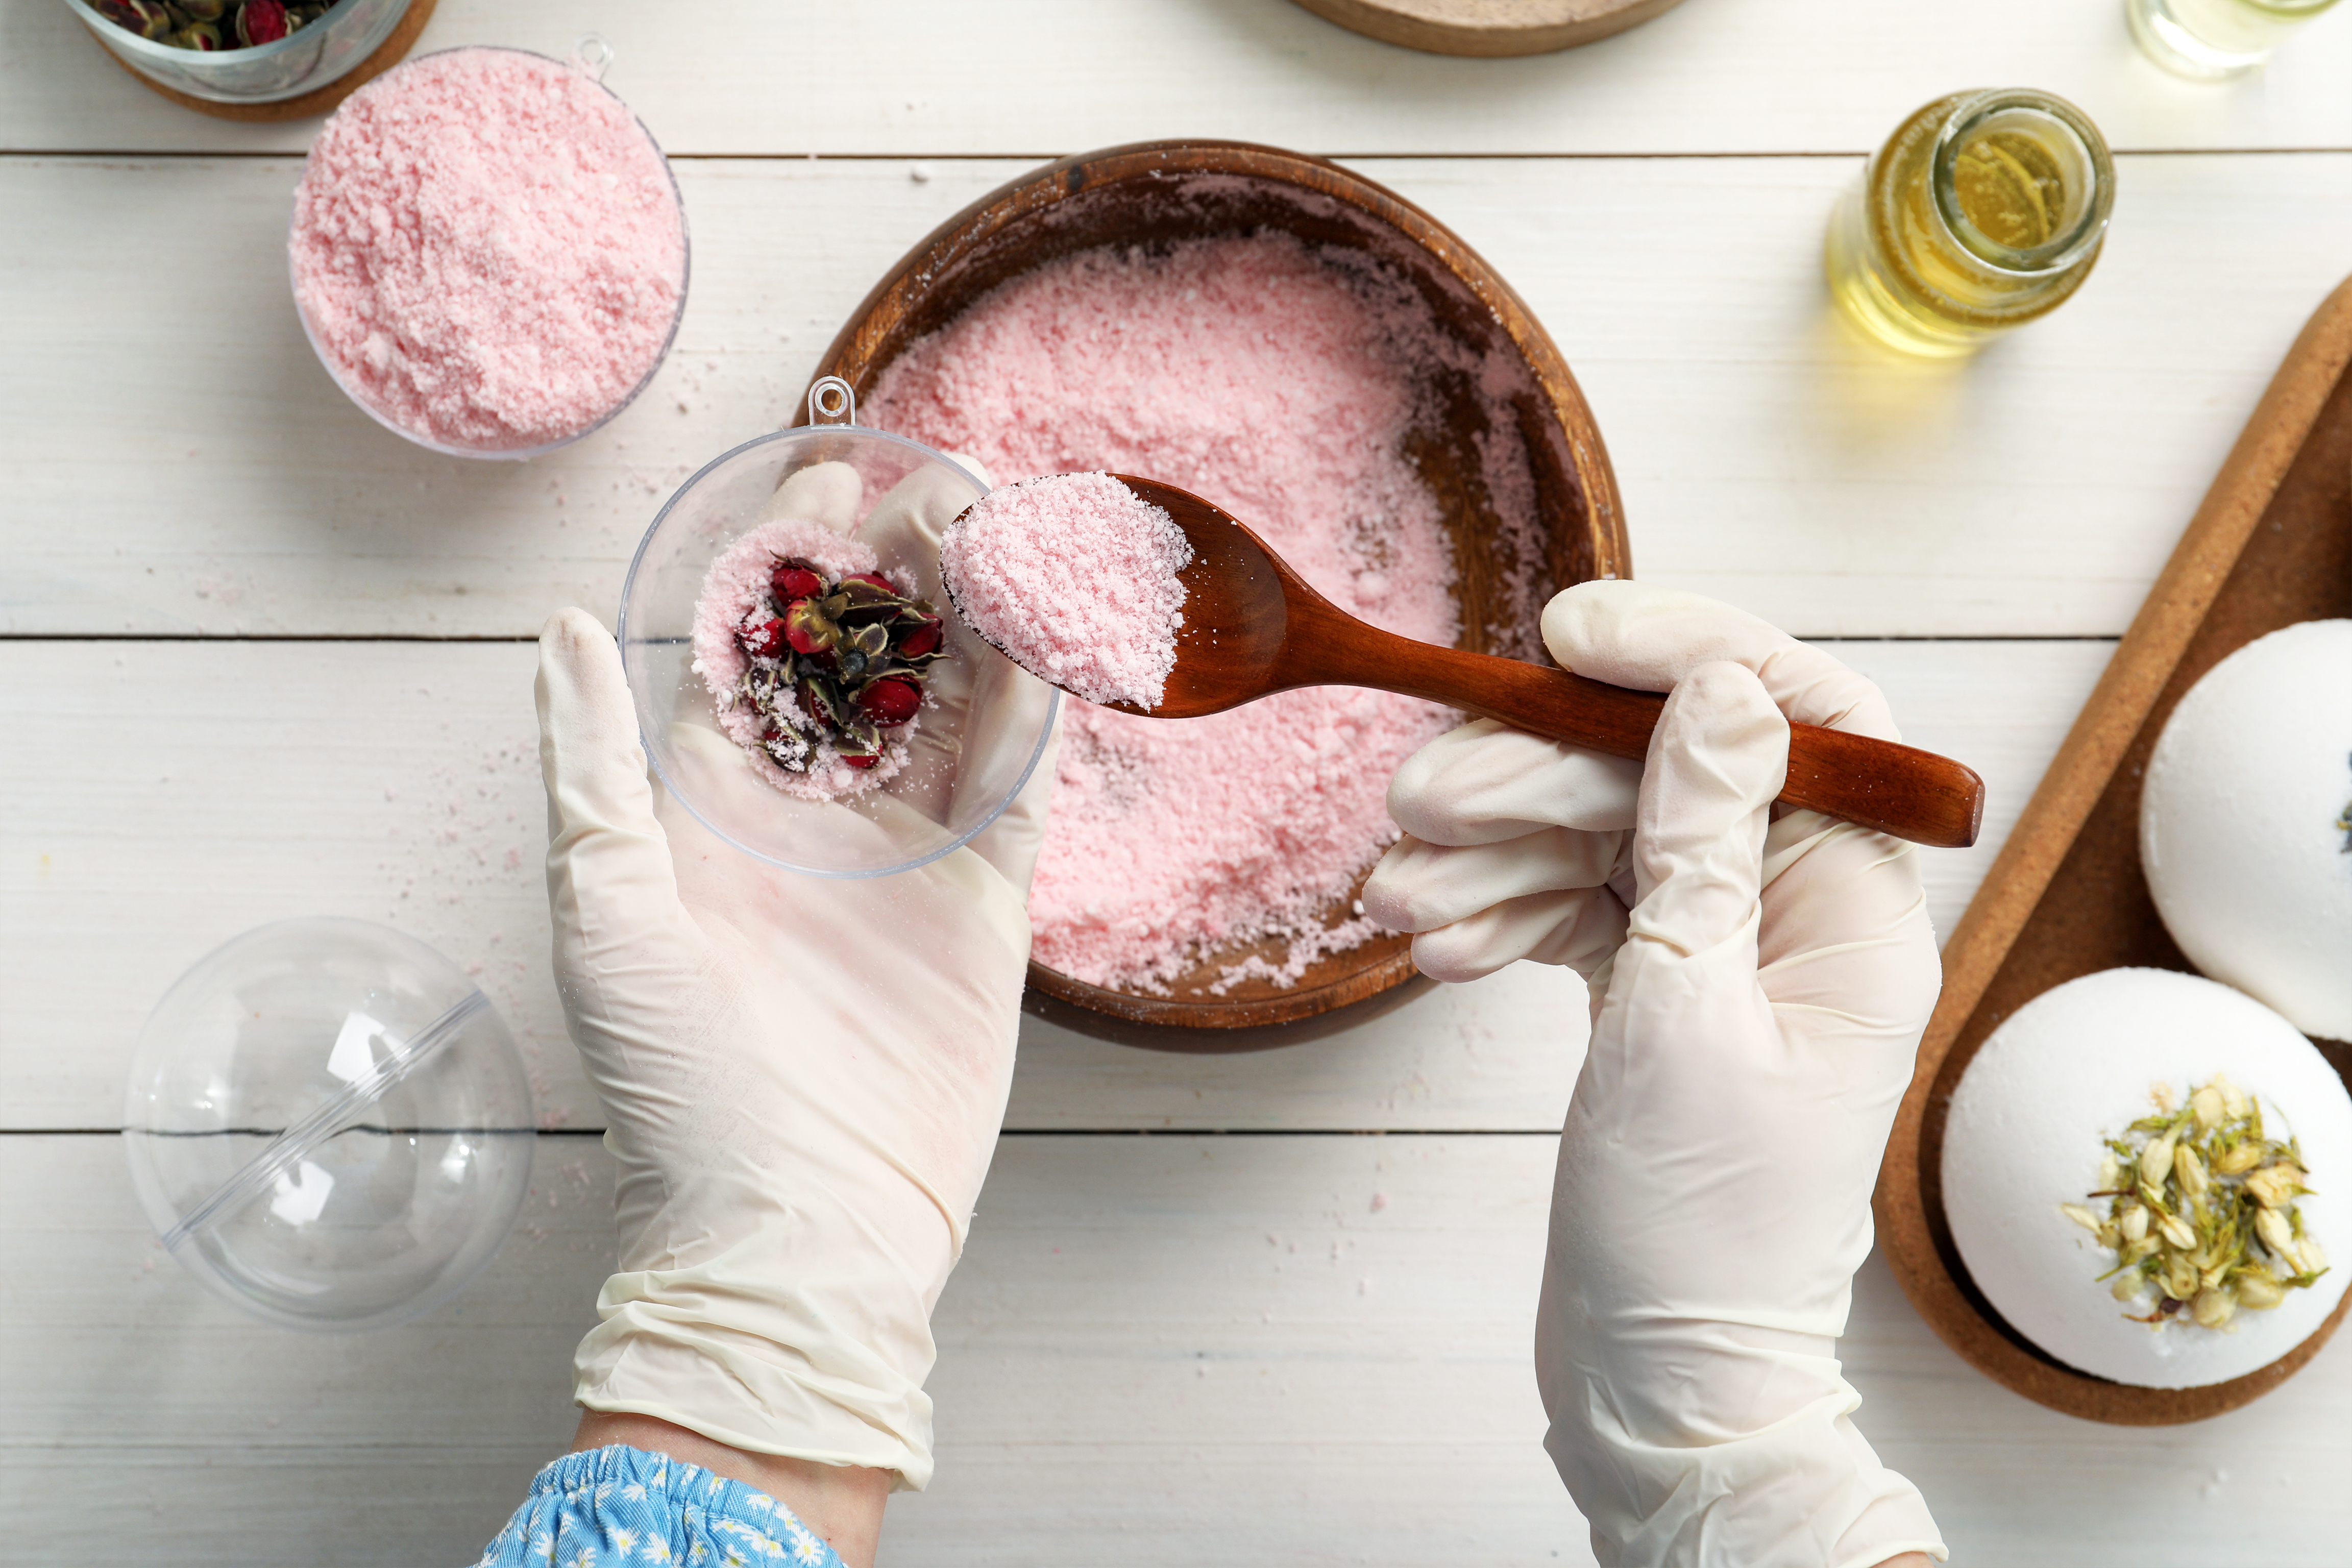
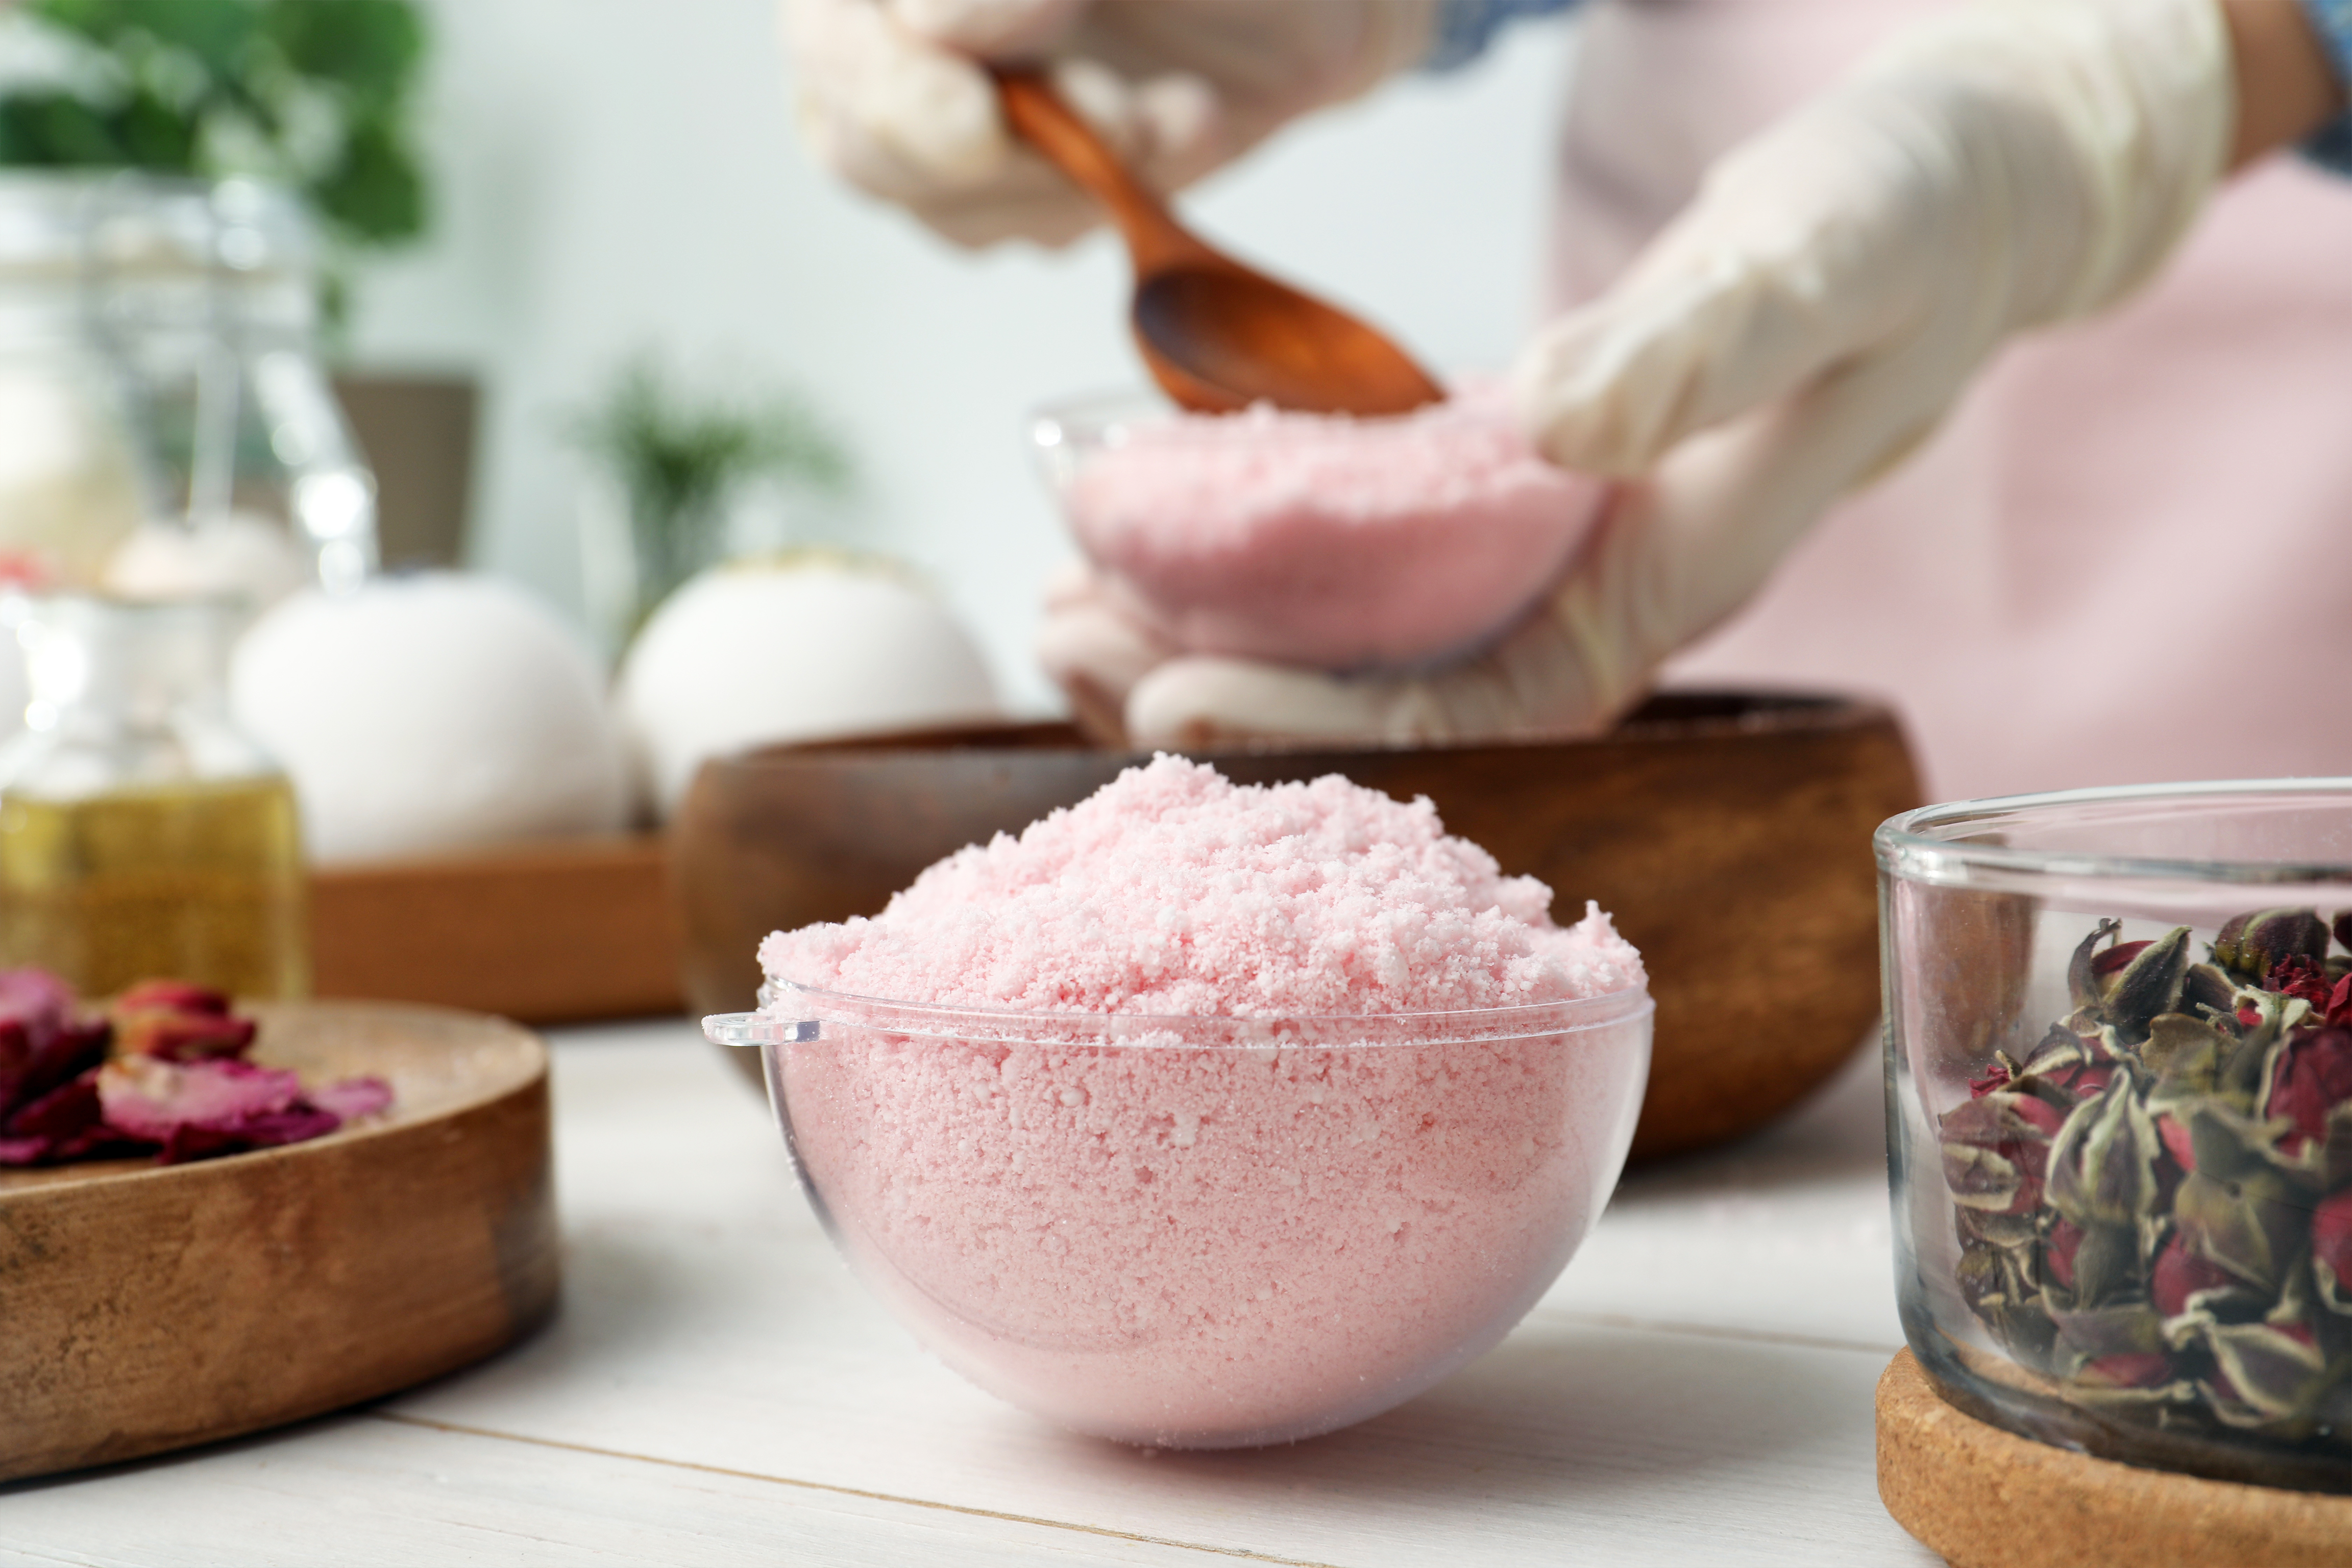
Whisk the dry ingredients together first, smoothing out any lumps. Stir wet ingredients together separately. Then, slowly pour the wet mixture into the dry mixture a little at a time, whisking continuously. (If you go too fast, you may accidentally activate the bath bomb’s chemical “explosion.”) The end result should hold its shape well when squeezed. Pack the mixture into your molds and leave it in a cool, dry place overnight.
Release your bath bomb by gently tapping on the back of the mold. It’s important to keep it dry until you’re ready to activate it, so store it in an airtight container or wrap it tightly with tinfoil or plastic wrap. Bath bombs can be tricky to get right, so don’t give up if your first few attempts crumble. Tweak the amount of each ingredient as needed.
Not only do shower melts, aka shower steamers, make the luxury of bath bombs accessible to those who don’t actually like taking baths, but they can also be tremendously beneficial for clearing congestion and soothing symptoms associated with respiratory irritation.
The DIY process for shower steamers is essentially the same as for bath bombs; the key difference is in the ingredients. Some things to keep in mind: Bath bombs are designed for direct skin contact, while shower steamers utilize aromatherapy, so there’s no need to include Epsom salts or texturizers. While essential oils are optional in bath bombs, they are — well — essential to shower steamers. Steam is a great vehicle for decongestants like eucalyptus oil and peppermint oil. If you choose not to use peppermint oil, which contains naturally occurring menthol, you might add menthol crystals. Other essential oil options include calming lavender, cleansing tea tree, and ginger for anti-nausea.
Another critical difference between DIY bath bombs and shower steamers is their structure. Bath bombs dissolve quickly, which is fine because you can soak in them as long as you like. On the other hand, shower steamers need to be sturdier to release their aromatics slowly, so consider using a more durable filler, like kaolin clay, to help them hold their shape. You might also omit the oil entirely, resulting in a higher ratio of dry to wet ingredients. Consider the shape as well — a flatter mold will allow the steamer to rest on the floor.
DIY bath bombs and shower melts make great gifts, but be sure to include a label or tag with use instructions and a description of the ingredients and benefits.
Perform a patch/allergy test or consult a physician before introducing any new ingredients to your routine to ensure you won’t have any adverse reactions.
DIY soap-making is another satisfying, and useful, hobby to try your hand at!
When You Should Start Planting Fall Vegetables
Brave the heat. “Fall you” will thank “today you” for it.
How to Lower Energy Bills by Winterizing Your Home
Preventing heat from escaping your rooms means lower heating costs.

Keep Your Home Cool This Summer, Pioneer-Style
Texans had to find creative ways to beat the heat before AC.
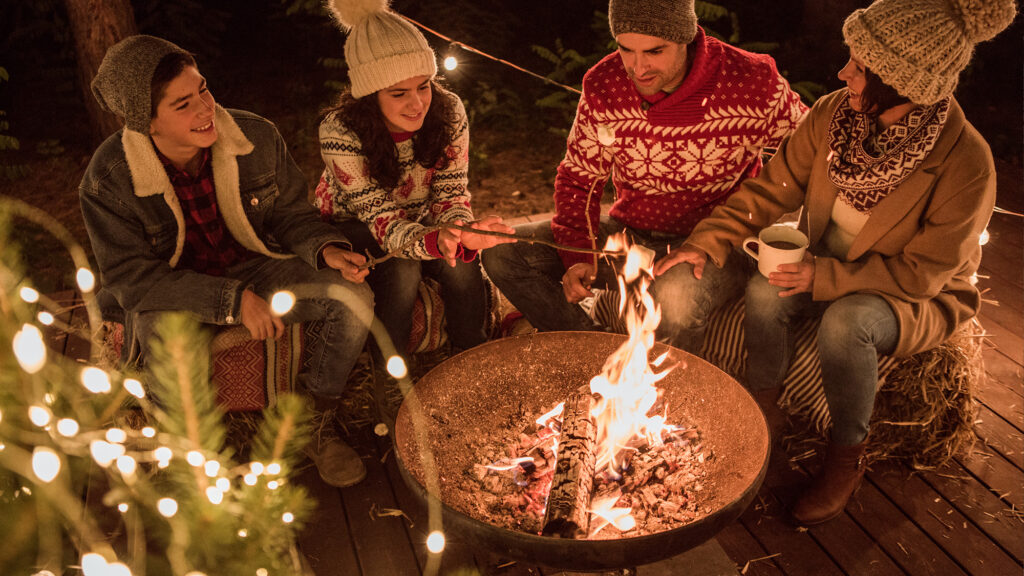
How to Enjoy Winter Patio Weather
Tips for year-round R & R.
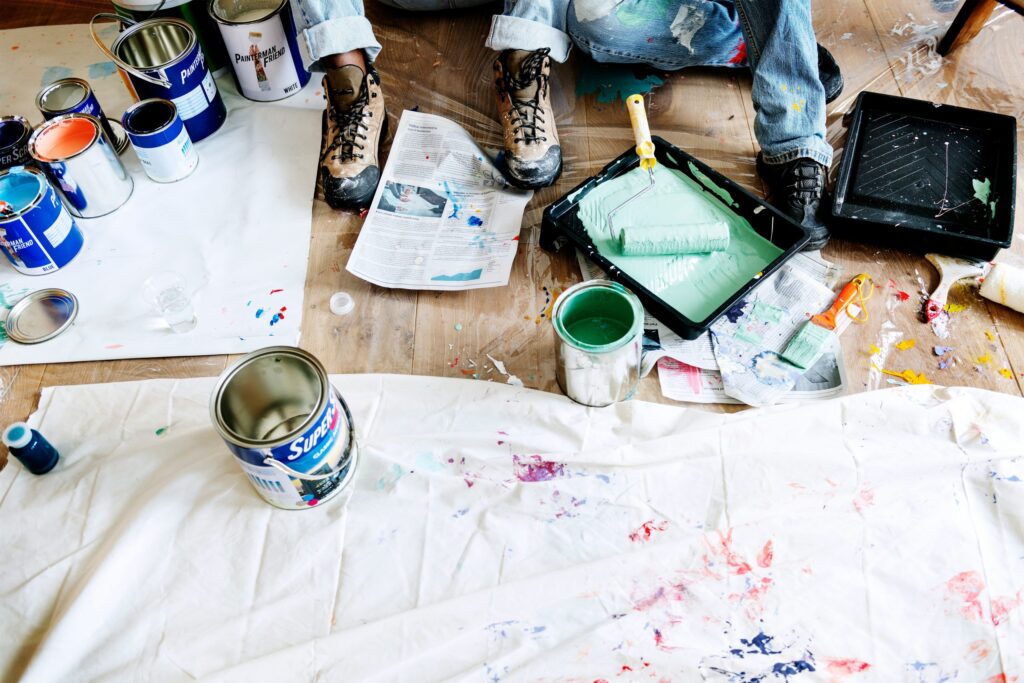
Winter Home Improvement Projects for Beginners
Don’t worry. You’ll nail it.
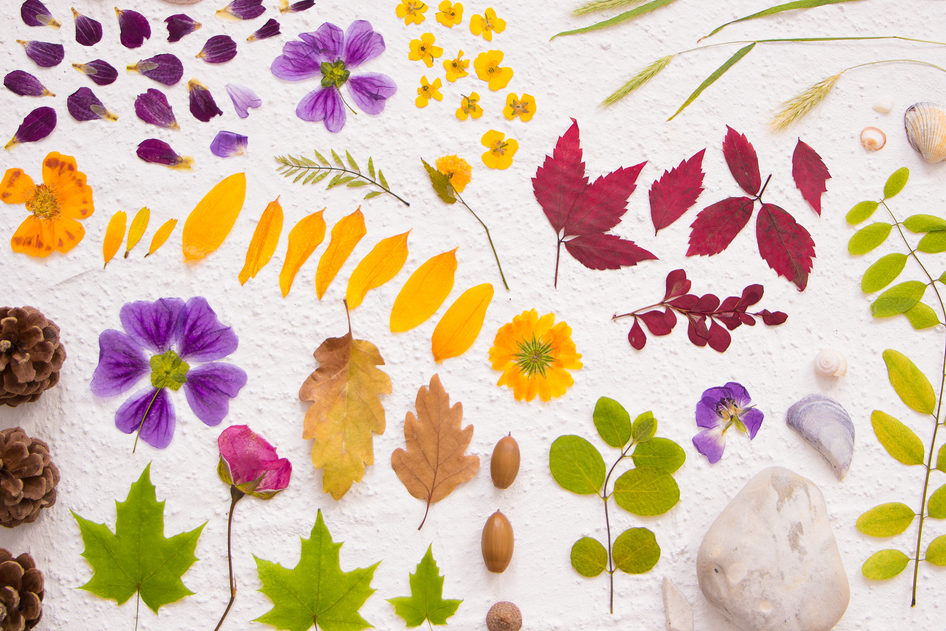
Preserve a beautiful piece of nature with this guide.