Summer Safety Roundup
Summer signals all the best Texas has to offer, from long days on the lake to highly anticipated road trips. But the summer months also usher in triple-digit temperatures and a need to be weather aware.
While knowing how to stay cool in the unrelenting Texas heat is critical to carefree fun, here are some other summer safety tips.

Get a Handle on the Heat
Vitamin D is essential to our well-being, but if you’re not mindful, a fun day in the sun can end with symptoms such as nausea, vomiting, and fatigue — classic signs of heat exhaustion and heat stroke. Thankfully, you can prevent this fate by staying hydrated, wearing loose and lightweight clothing, and taking breaks indoors or in shaded areas as needed. Learn more about what to do in a heat-related emergency.

Outdoor Summer Safety
Longer days practically beckon us outdoors. Whether you’re heading to the lake or enjoying your backyard oasis, there are safety considerations to keep in mind.
Grilling
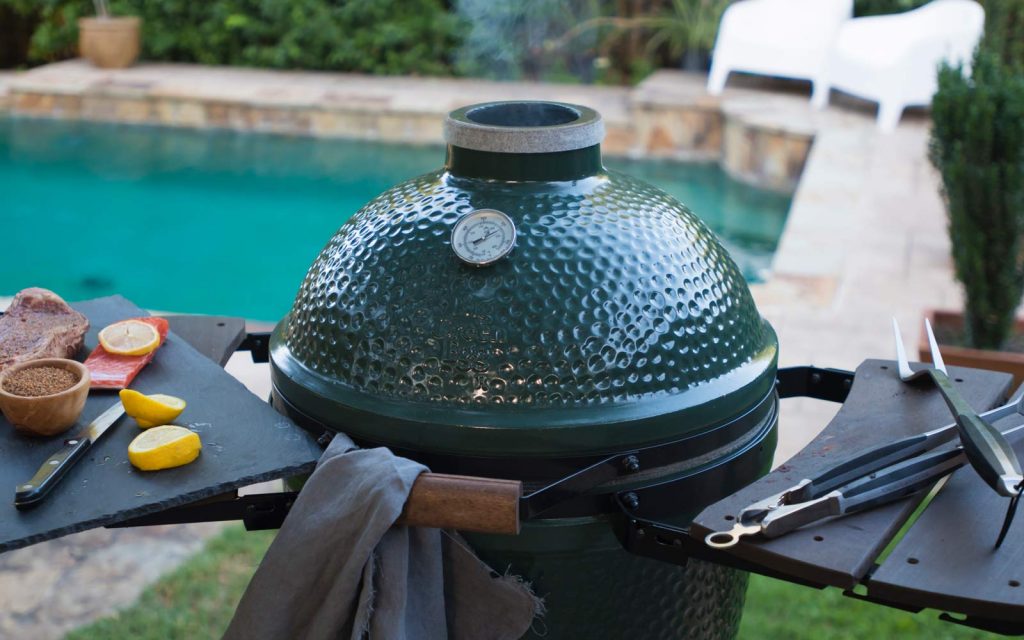
In Texas, smoked meats are the unofficial scent of the summer season. Get your backyard smoker ready for guests. If you prefer the grill, stay safe over the open flame by carefully cleaning your grill and keeping potentially flammable objects at a safe distance. Learn more with our Texas cookout safety guide.
Swimming
Water offers a beautiful reprieve from the skin-scorching sun, whether piling into your neighbor’s backyard for a pool party or sunbathing along the 360 miles of Texas shoreline. (Swimming lessons are always a good idea.) Before settling in for some poolside fun, make sure that:
- Pool maintenance is up to date.
- The pool deck is clear.
- Electrical equipment is put away.
- Safety gear, such as ring buoys and a first-aid kit, are nearby.
Plan ahead before a trip to one of Texas’ beaches by brushing up on swimming basics, as well as understanding local regulations and the meanings of flags you may see at the lifeguards’ stands throughout the day. Also, stay aware of powerful, and potentially deadly, rip currents and debris that could impact your swim. Learn more about pool party safety and Texas beach safety tips.
Boating
If you’re set on exploring one of Texas’ hidden-gem lakes this summer, make sure your vessel is in tip-top shape with the proper equipment on board (e.g., water, a first-aid kit, life jackets, etc.) and that you have the right boat insurance. Also, pay close attention to weather forecasts and warnings and know what to do if you find yourself in a storm. If you’re going to be swimming, be on the lookout for potential water safety issues such as zebra mussels, toxic algal blooms, and brain-eating amoebas. Learn more about playing it safe at the lake and general boating safety tips.

On the Road
Summer is the perfect time for a Texas-sized road trip. Before you pack up and head out, go over a car-maintenance checklist to ensure your vehicle is ready for the open road. (A little basic car maintenance can go a long way!) Get in defensive driving mode so you can anticipate gridlock traffic and know what to do if you see road buckling, signaling that part of the highway has succumbed to the Texas heat. Learn more about summer road safety.

Pets
Embrace the dog days of summer — with your dog! There are several dog-friendly destinations across the state, from Palo Duro Canyon State Park in the Panhandle to Austin’s beloved Barking Springs (a segment of Barton Springs reserved especially for your four-legged friend). No matter what’s on tap, keep an eye on your pet to prevent overheating and other summer pet-safety concerns. Driving with your pet is both an art and a science. A little patience, practice, and preparation will make your trip one to remember. Learn more with our pet summer safety guide.

Have a Fun, Accident-Free Fourth
While the Fourth of July is one of the most anticipated holidays of the summer season, it can also be one of the most dangerous. Fireworks start an average of 19,000 fires each year, according to the National Fire Protection Association. July Fourth weekend can also be the busiest and deadliest on Texas’ roads. Following driving tips, such as not overloading your vehicle, can keep everyone safe. Learn more about fireworks safety.
Safety doesn’t stop when the summer ends. This complete Texas safety guide keeps you alert for everything from fires to weather.
© 2024 Texas Farm Bureau Insurance
