Roundup: Guides to Water Sports in Texas
Thanks to summer’s extreme heat, backyard pools are a staple of many neighborhoods in Texas. But don’t let the pool limit your aquatic imagination.
It’s time to take advantage of months of warm weather, get outside, and get in the water. Specifically, get into water sports. We’ve explored the best ways to swim, fish, paddle, dive, and generally get wet throughout the state. So, as you start planning, let us help inspire your next aquatic adventure.
Texas’ unique geology has scattered incredible natural springs and pools all over the state, while our nearly 370 miles of coastline give rise to plenty of beach action. Our popular lake scene is studded with beautiful human-made lakes and our history has been crafted along the great rivers of Texas. Which is all to say: There’s plenty to do on the water.
Explore our roundup of guides to water sports in Texas below.
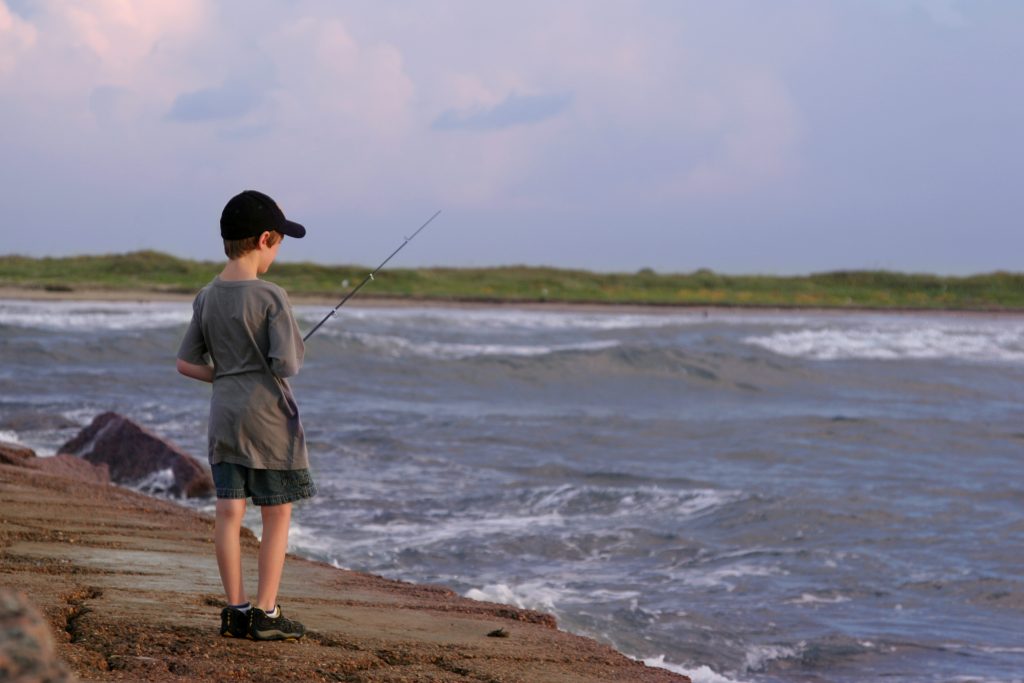
Fishing
Texas is one of the country’s fishing destinations. It offers big game offshore fishing on the coast, competitive angling across the state’s many lakes, and fly-fishing opportunities in creeks, rivers, and streams. The biggest challenge to fishing in Texas is knowing where to start. A few tips: You’ll need a license unless you are under the age of 17 or fishing on private property. The Gulf is great for redfish and drum; the lakes are stocked with bass and trout. And there’s plenty of fly-fishing on Texas rivers too. Explore our guide to fishing here.
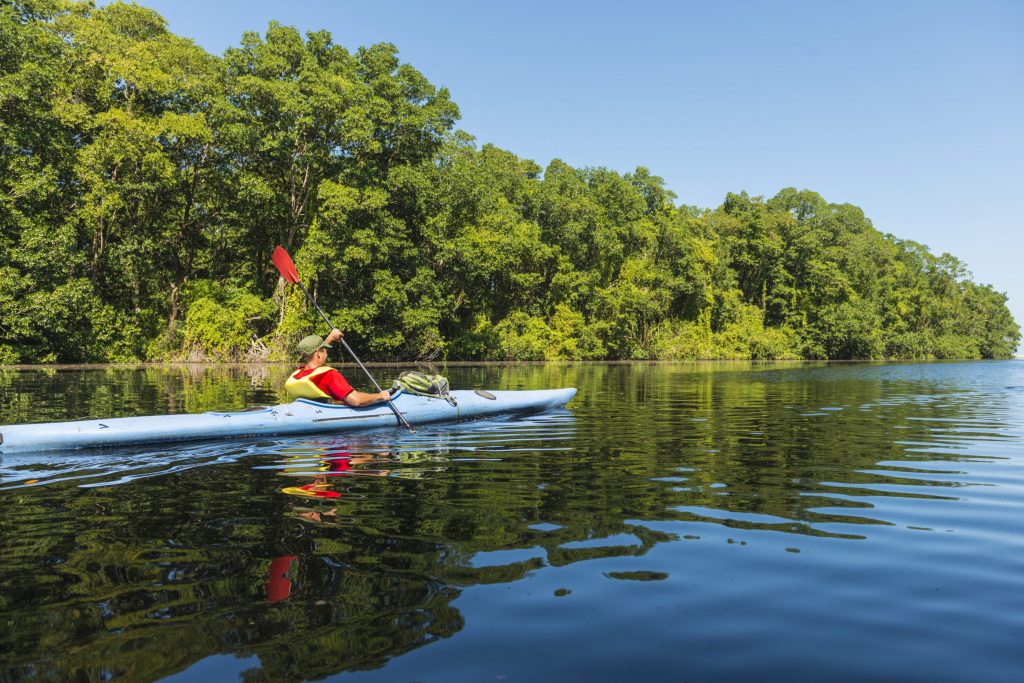
Kayaking
From glassy lakes to challenging rivers to the alluring coastal bayous teeming with aquatic life, Texas is a kayaker’s dream. There are several paddling trails maintained by the Texas Parks and Wildlife Department throughout the state, including opportunities to explore historic Spanish missions along the San Antonio River and the border country of the Rio Grande. Here are some of the best paddling journeys you can find. Explore our guide to kayaking here.
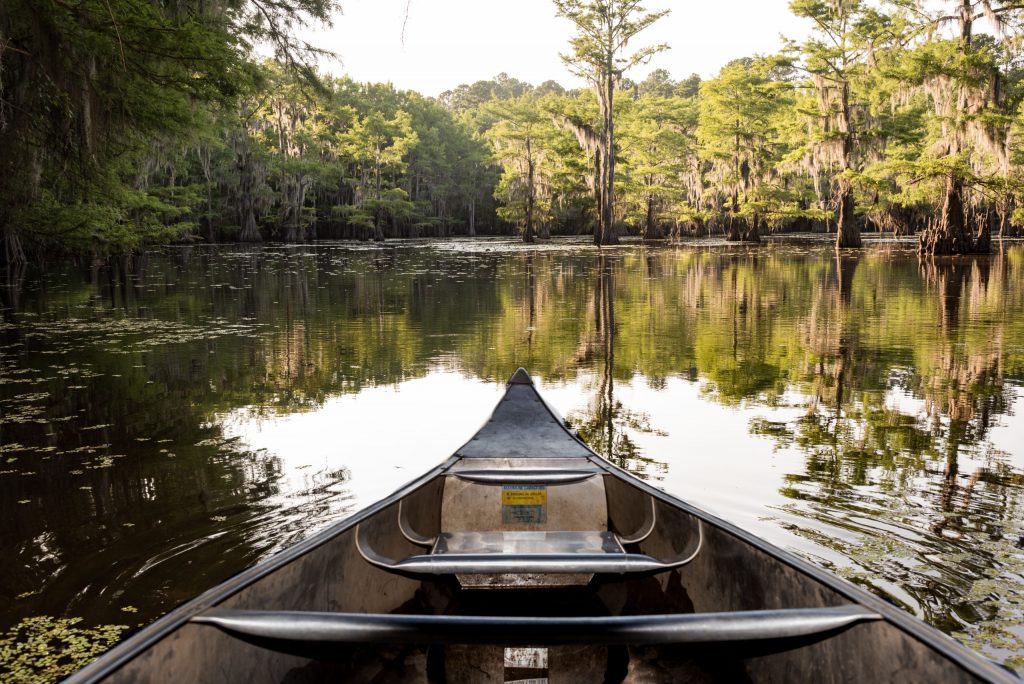
Canoeing
Texas is home to 3,700 named streams, 15 major rivers, and thousands of miles of tidal shoreline, which means there is no shortage of options for avid canoers. You can follow in the footsteps of author John Graves’ historic paddle down the Brazos River, explore the unique bald cypress forests of Caddo Lake, or take a dip in the chilly, crystalline waters of the Frio River. Explore our guide to canoeing here.
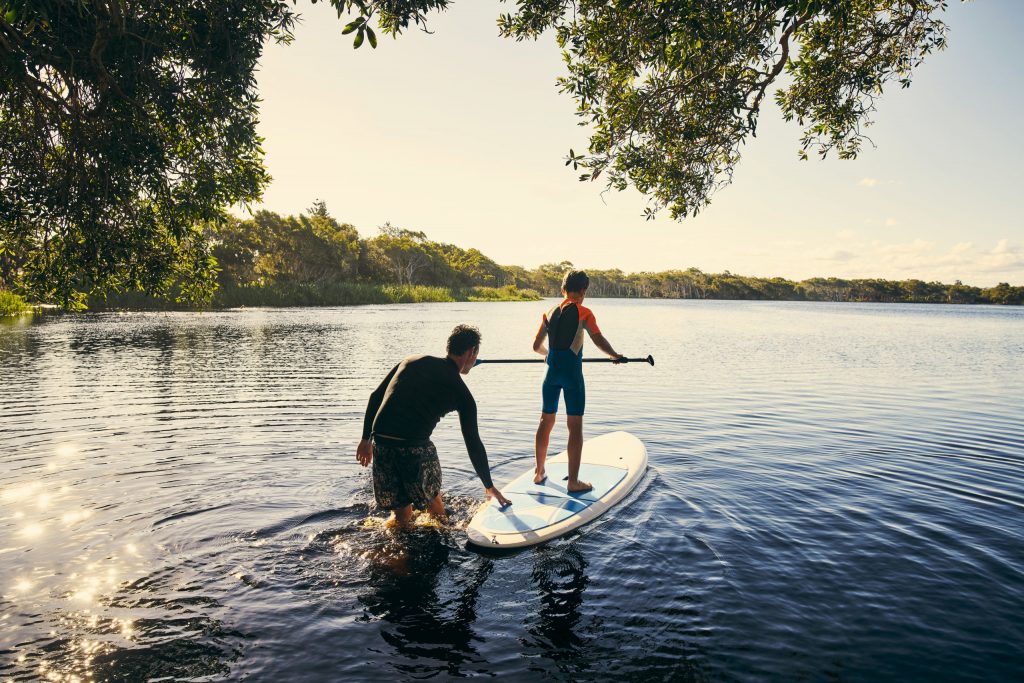
Paddleboarding
Paddleboarding was the fastest-growing sport in the country a few years ago, and now we get to enjoy it all across Texas. Our guide to Texas paddleboarding includes some great safety tips as well as salt- and freshwater spots that have become destinations for lazy days out on the water. Explore our guide to paddleboarding here.

Wakeboarding
If wakeboarding is more your speed, Texas offers plenty there too. The state is home to some of the best wakeboarding parks in the country, which offer options for people just starting out or experts wanting to test their chops on challenging waves. Here’s our guide to Texas’ best wakeboarding parks. Explore our guide to wakeboarding here.
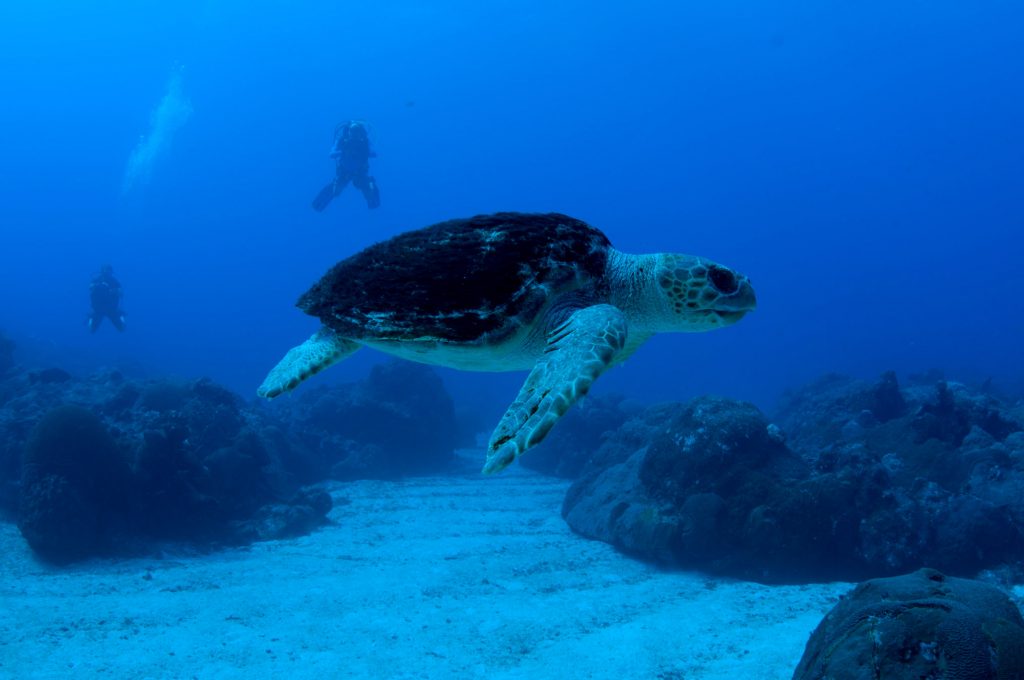
Scuba Diving
For those just dipping their toes, we’ve rounded up the best salt- and freshwater scuba spots. But the Texas Gulf is home to a bucket list dive spot that should be on any avid scuba diver’s agenda: Flower Garden Banks. This difficult-to-reach spot located about 100 nautical miles off the coast of Galveston was formed by underwater salt domes that are anywhere from 10,000 to 15,000 years old. A federally protected marine sanctuary, Flower Garden Banks is home to dozens of unique and rare species that make this a one-of-a-kind dive spot. Explore our guide to scuba diving here.
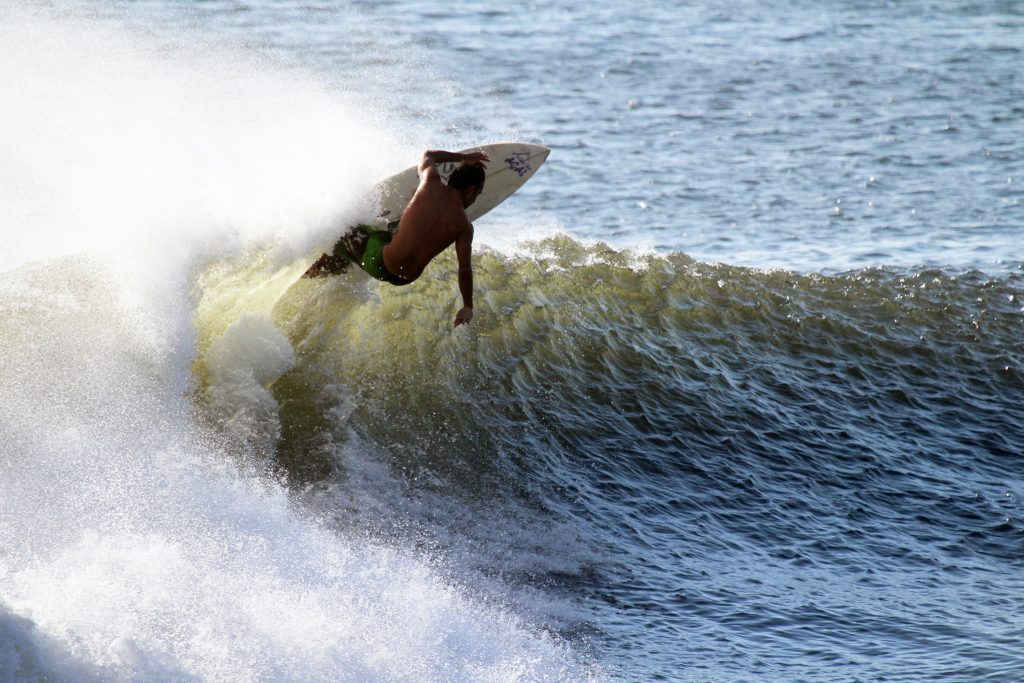
Surfing
Texas surfers may not get as much attention as those wave hunters that live in California or Hawaii, but did you know that Texas has a rich and colorful surfing history? First introduced in Galveston back in the 1920s, the sport has flourished along the Gulf Coast, where seasonal hurricanes kick up some killer swell. Corpus Christi is the epicenter of Texas’ surf culture, but in recent years, that has begun to shift with the opening of the Waco Surf wave pool. Considered one of the best human-made wave pools in the world, Waco has begun to attract pro surfers and curious aficionados alike. Explore our surfing history here.
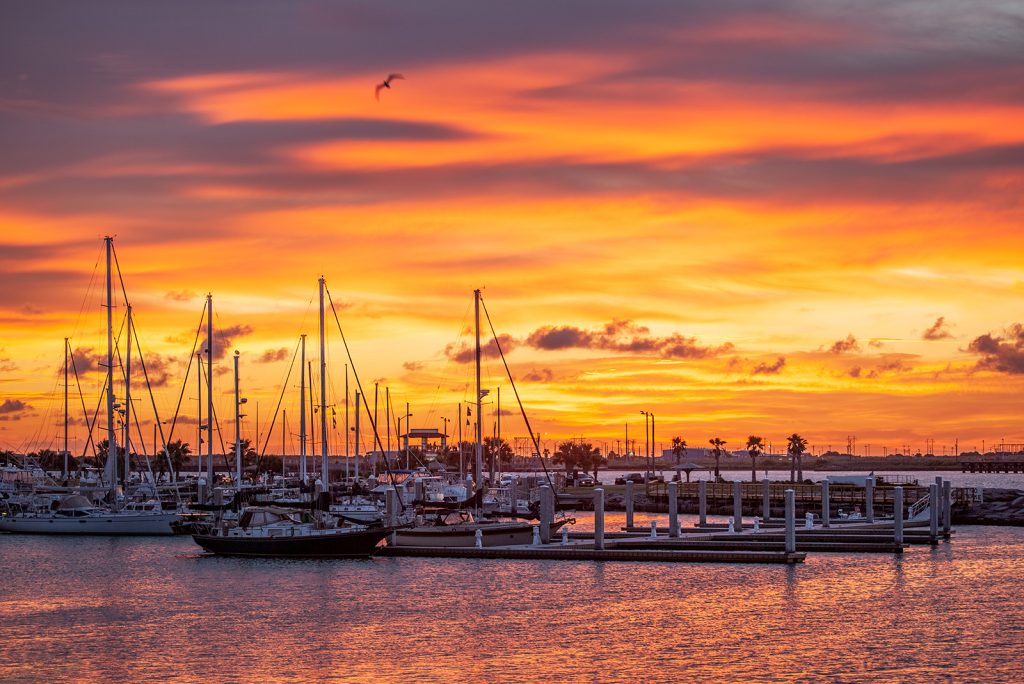
Sailing
From navigating the strong and fickle winds across its lakes to the prevailing onshore breezes of the Gulf Coast, Texas is known as a challenging sailing environment. Those conditions have also helped it produce some world-class sailors. Whether you’re into sailboat racing or finding a cozy anchorage for an onboard overnight, Texas has plenty to offer. In our ultimate guide to Texas sailing, we breakdown sailing options for both beginners and experienced skippers, sailing schools and charters, and some of the best cruising grounds in Texas. Explore our guide to sailing here.
Before you head out, be sure to take a few minutes to review Texas’ water laws and boating safety tips.
© 2023 Texas Farm Bureau Insurance