Guide to Caulking Your Home
Caulking your home’s windows and doors is an incredibly effective way to increase energy efficiency. The U.S. Department of Energy estimates that proper caulking can reduce a home’s energy costs up to 20% — and that’s not even calculating the savings you’ll get from doing this easy home project yourself.
And while caulking is mostly associated with windows and doors, caulk also works wonders to prevent water leaks and mold growth around and under tubs, toilets, sinks, and other bathroom and kitchen fixtures.
Whether you’re sealing your exterior openings or interior fixtures, the principles of caulking are simple.
How to Test Your Seals
Here’s a simple way to test whether you’re losing conditioned air through leaks in your home. Stick a dollar bill through the crack between a window sash and sill, or between the bottom of a door and its jamb. Close the window or door and tug on the bill. If it slides out easily, it’s time to recaulk.
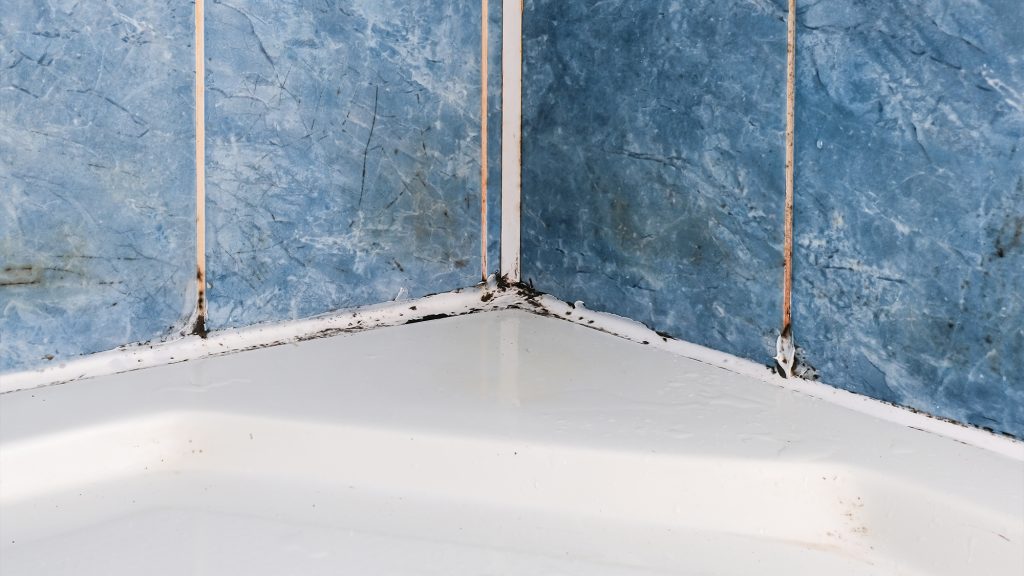
In bathtubs and showers, look where the tub, toilet, or other fixtures meet the wall or floor. Is the old seal visibly peeling? Moldy? Wet? Any of these signs indicate that moisture is getting in where it shouldn’t and the time for recaulking is nigh.
Which Caulk to Use
There are various kinds of caulking compounds, each designed for specific uses. You won’t use the same kind for your window as your tub, for instance.
For windows and doors, you’ll probably want a butyl rubber caulk. It’s resilient, seals different materials, such as wood and glass, together well and will last you a decade.
For tile, toilets, and other plumbing fixtures, your best bet is silicone caulk. It’s water-resistant, flexible, and excellent for sealing metal plumbing joints.
If there’s cracks in your tub’s tile or plaster, use a latex adhesive. It’s less elastic than silicone, but this makes it even more water-resistant.
How to Apply Caulk
No matter where or what you’re caulking, the method is the same.
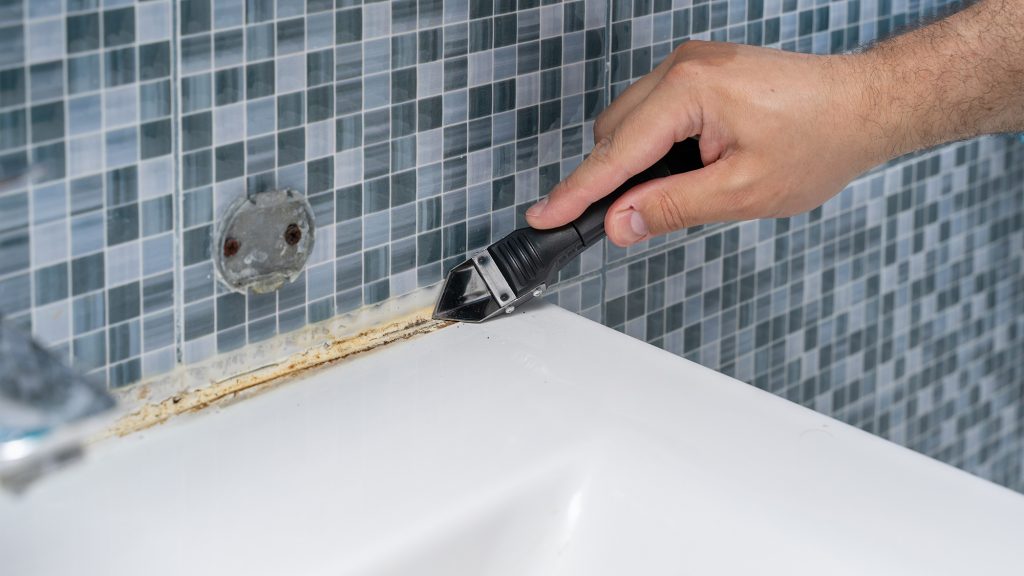
Cut out the old caulk. If there’s an old, deteriorating seal, use a razor blade, putty knife, or solvent to remove it.
Clean the area. Use a stiff brush to scrub away all remnants from the old caulk and any dirt, dust, or mold. Make sure the surface is dry so no moisture gets sealed in.
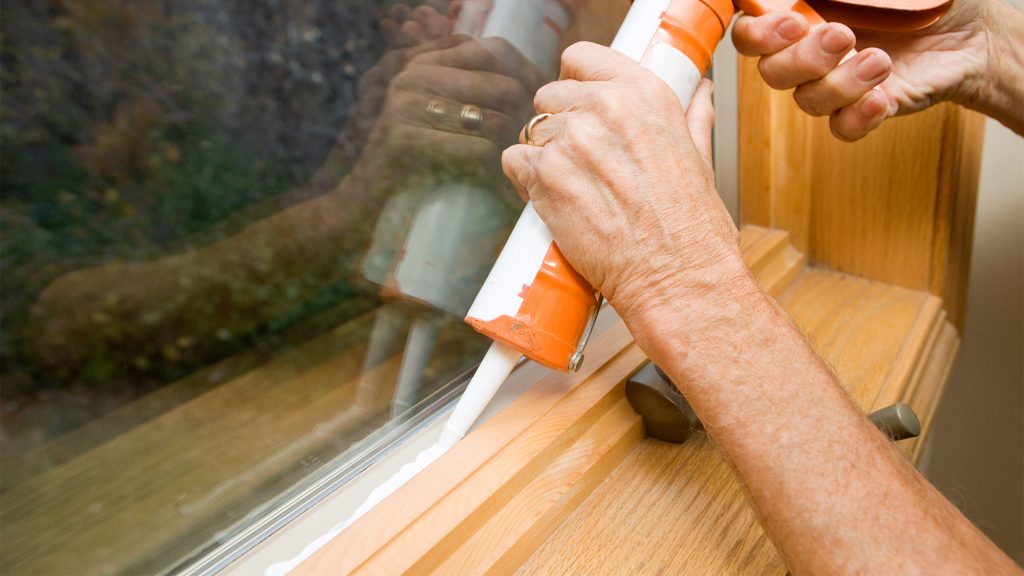
Apply a steady stream. Hold the caulk gun at a 45-degree angle. Push it along the crack steadily rather than pulling aggressively. Make one continuous bead and ensure it sticks to both sides of the seam.
Tool the bead. Run a moistened finger or smoothing tool along to press the caulk into the gap. Wipe away excess.
Let it set until dry. Check your caulk’s label for the estimated setting time.
Proof. If the caulk shrinks or you notice gaps, don’t hesitate to apply a second coat and completely seal your seam.
Check out our guide for even more ways to lower heating and cooling bills.
 premium
 premium
 premium