How to Make Holiday Candles at Home
The holidays are approaching, and the spirit of generosity is in the air. Instead of stressing over buying the perfect gift this year, tap into your creative side by learning how to make holiday candles! They’re the perfect DIY holiday craft that double as thoughtful handmade gifts for loved ones.
Here’s our beginner’s guide to the art of candle making.
Planning Your Candles
1. Choose your wax.
The right wax is the most important part of your candle. Here’s an overview of the most common options you’ll find.
DO USE: Soy, beeswax, or coconut wax. Our choice when making holiday candles is all-natural soy wax. This sustainable wax is friendly to first-time candlemakers as it takes scents and dye well. (We used this soy wax.)
Beeswax and coconut wax both make beautiful candles, but they are a little trickier and not as beginner friendly.
AVOID USING: Palm or paraffin wax. Palm wax is difficult to obtain ethically. While extremely common, paraffin wax is derived from petroleum and releases soot and carcinogens when burned, increasing the risk of developing or worsening lung diseases.
2. Choose your wick.
The right wick is essential to ensuring your candle burns well. Cotton core wicks are the safest and most eco-friendly type and are ideal for first-time candlemakers. (We used these wicks.)
Although not essential, it may be helpful to include some add-on tools to help you place your wicks, such as wick stickers to hold your wicks in place (like these) and wick bars to center your wicks while you pour (like these).
3. Choose your containers.
You can certainly get creative with your containers to get the look you want, but you’ll want to make sure they are safe and will work well for candle making. Here are a few guidelines:
- Types: Small glass jars, metal tins, and tealight cups all work well.
- Shape: Wax will naturally pool circularly, so candles burn better in a round container.
- Diameter: Diameters less than 3.5 inches are ideal for one-wick candles.
- Safety: Make sure the container you choose can withstand high temperatures and is certified for use as a candle jar (like these).
4. Choose your colors.
Candle dyes typically come as either blocks or liquids. Dye blocks are easy and cost-effective, while liquid dyes can produce a more precise color and larger candle quantities. We used these dyes that come in chips, offering the best of both worlds; you only need a few chips for 1 pound of wax, and you can add in chips until you achieve the desired color.
5. Choose your scents.
Before you order oils, make sure you know your wax’s “fragrance load,” or the maximum amount of fragrance oil you can use with your wax. Reputable candle wax manufacturers will include this information with their product. The soy wax we used has a fragrance load of 10%, meaning a maximum of 1.6 ounces of fragrance oil per pound of wax. We used 1 ounce of fragrance for 1 pound of wax to stay comfortably within the fragrance load.
Also check that your fragrance oils are phthalate-free and cruelty-free to ensure that your candles are safe and ethical. (We used fragrance oils from The Wooden Wick Co.)
6. Prep your station.
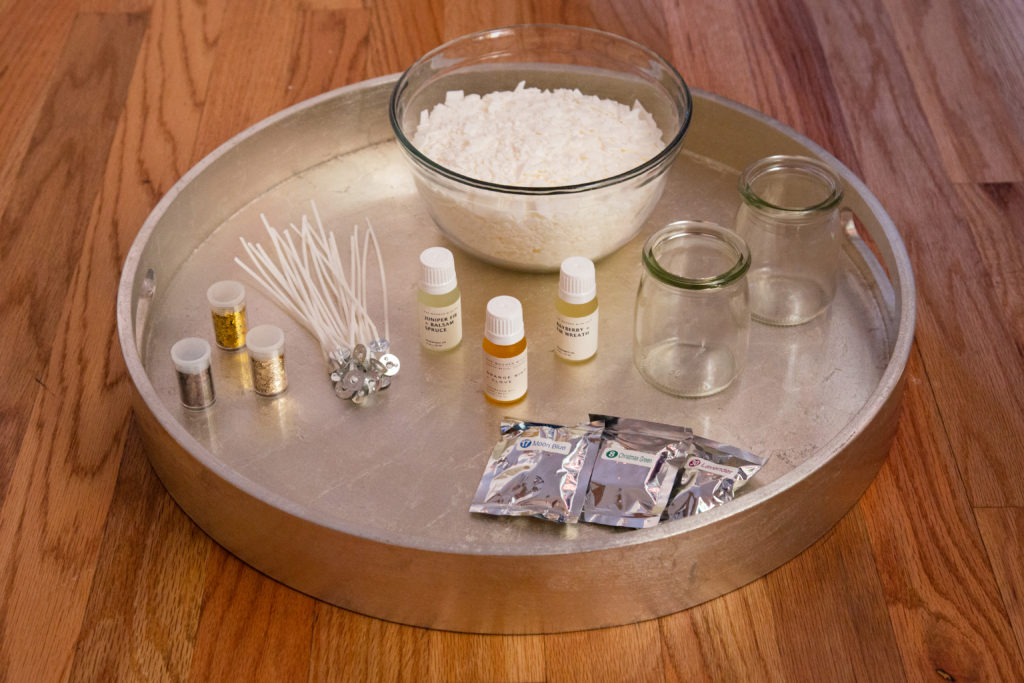
To make two 8-ounce candles, you’ll need:
- 1 pound soy wax
- 2 wicks
- 2 8-ounce glass jars
- Candle dye
- 1 ounce fragrance oil
In addition, you may want a few other materials on hand:
- Paper towels and newspaper for the inevitable mess.
- A baking sheet to warm your containers.
- A large pot and a double boiler and pouring pitcher (like this one).
- A scale for weighing out wax, dyes, and fragrance oils.
- A candy thermometer so you can test your melt and pour temperatures.
- Candle labels and warning labels to add if you want to be extra safe (like these).
- Materials for dressing and gift wrapping your candles (see ideas below).
Concepting Your Candles
Try these holiday ideas or make up your own! The colors and scents listed below are from YRYM HT and The Wooden Wick Co., but of course you can find your own favorites and get creative.
1. Christmas Tree
Color: Christmas green
Scent: Juniper Fir & Balsam Spruce or Cloudberry & Balsam
Dressing: Gold glitter and tiny ornaments
2. Wintry Forest
Color: White
Scent: Bayberry & Fir Wreath or Tree Sap & Fir
Dressing: Silver and white glitter
3. Cinnamon Spice
Color: Coffee
Scent: Raw Cinnamon & Clove or Apple Rind & Cinnamon
Dressing: Cloves and crushed cinnamon stick
4. Orange-Clove
Color: Gamboge
Scent: Orange Rind & Clove
Dressing: Dried orange slice and cloves
5. Holiday Punch
Color: Red orange
Scent: Red Currant & Kumquat
Dressing: Red glitter, dried berries, and herbs
6. Sugar Cookie
Color: Lavender
Scent: Creamy Vanilla & Coconut Sugar
Dressing: White glitter
7. Sleepy Time
Color: Royal light purple
Scent: Chamomile Flowers & Lavandin
Dressing: Lavender and chamomile buds
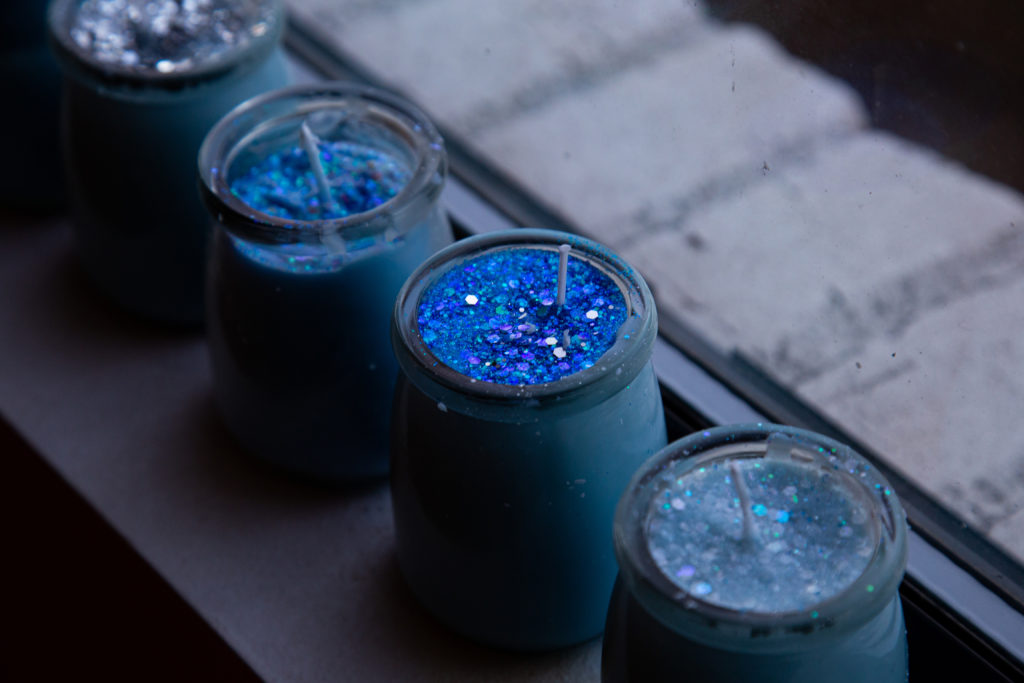
8. Solstice
Color: Moon blue
Scent: Birch Bark & Ripe Fig Sapling
Dressing: Blue and white glitter
Making Your Candles
1. Prep your workstation and materials. Cover the counter with newspaper and have paper towels handy to clean up any spills.
2. Warm your containers. Place them on a baking sheet in the oven at 125 F until you are ready to pour your candles.
3. Prepare your double boiler. Fill a large pot halfway with water and bring to a boil over low heat. Maintain water levels by adding more throughout the candle-making process.
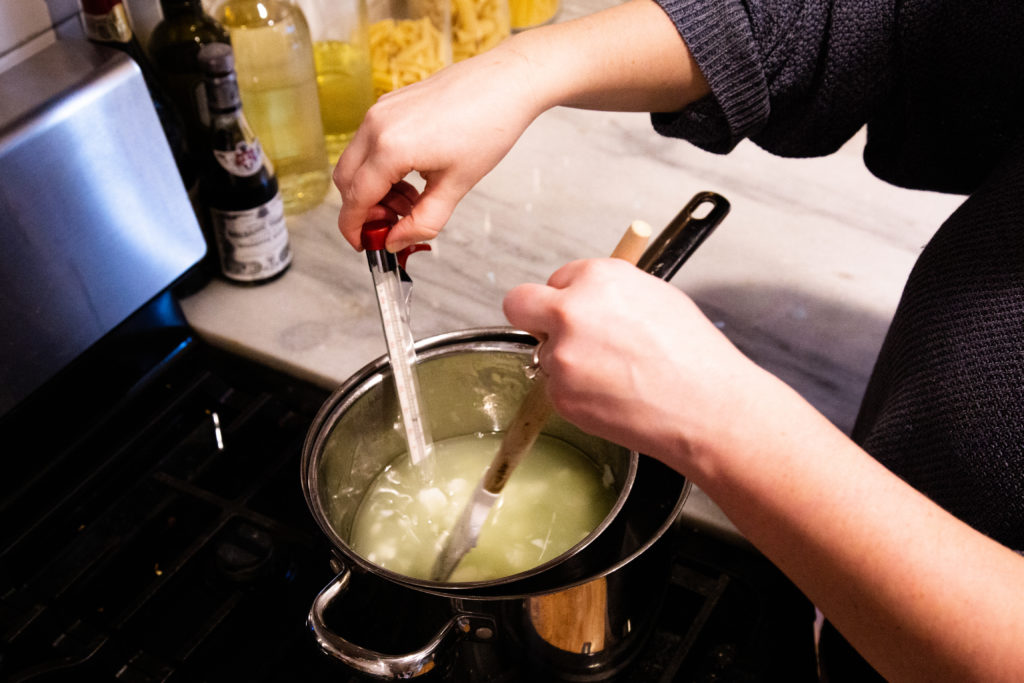
4. Melt your wax. Weigh and add 1 pound of soy wax to your double boiler. Place the double boiler in the pot of boiling water; let sit until the wax reaches melting temperature. Each wax is different, so check the packaging. The soy wax we used has a melting temperature of 130 F. Monitor temperatures continuously with your candy thermometer.
5. Add dye. Once your wax reaches 130 F, add in dye to your preference and stir to combine. Test the color by placing a drop of hot wax on a paper towel. If the color is too light, add more dye. Repeat until you achieve the desired color.
6. Add fragrance. Add 1 ounce of fragrance oil and immediately remove the mixture from heat to prevent the aroma from evaporating. Stir well to combine and, monitoring the temperature, set wax aside until it has cooled to its pour temperature.
7. Prepare your wicks. While the wax cools, remove your containers from the oven and add wicks; wick stickers and a wick bar may be helpful.
8. Pour your wax. Each wax has an ideal pouring temperature, so check the packaging; the soy wax we used has a pouring temperature of 105 F. Once your wax reaches 105 F, carefully and evenly pour it into jars. This amount of wax should comfortably fill two 8-ounce jars; you should have some wax left over.
9. Allow your candles to cool and set. Set your candles according to your wax’s specifications for optimum fragrance throws.
10. Trim your wicks. Trim wicks once your candles have set.
Dressing and Decorating Your Candles
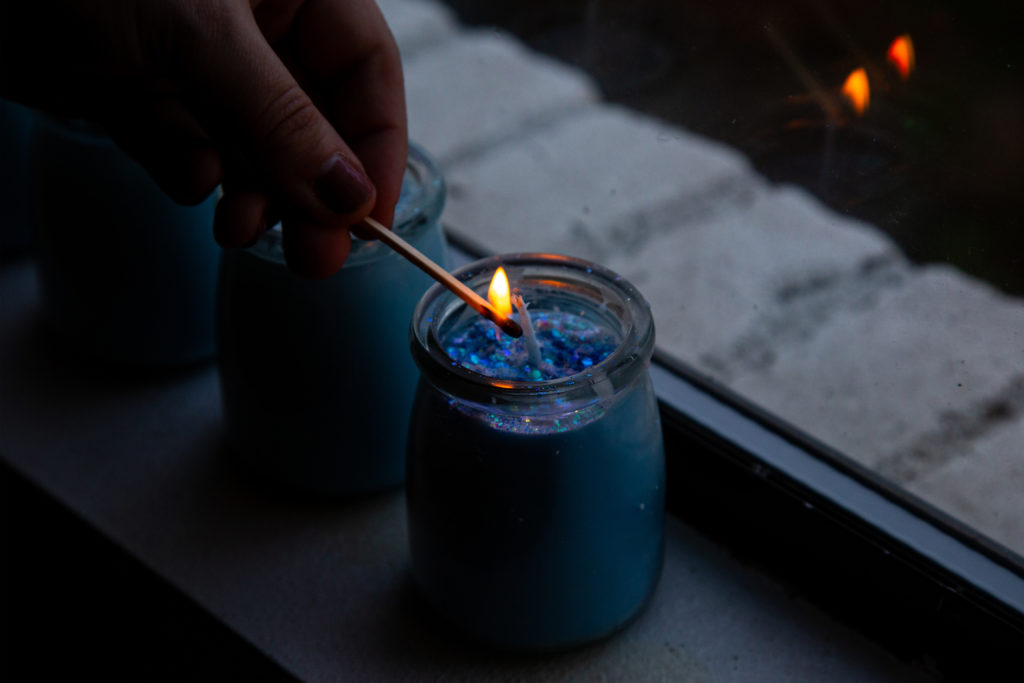
Let your imagination run wild and dress up this beautiful holiday craft using the ideas above or your own! Adding caution labels helps keep loved ones extra safe. Naming your candle and adding personalized labels to let the recipient know the ingredients or the scent is helpful too. Dress, decorate, and gift wrap candles with dried flowers, herbs, glitter, fruit, crystals, and ribbon — the more personalized they are, the merrier!
Add homemade holiday candles to these elegant holiday table settings.
© 2021 Texas Farm Bureau Insurance

