
Please sign in as a member or guest below to access it.
Please sign in as a member or guest below to access it.
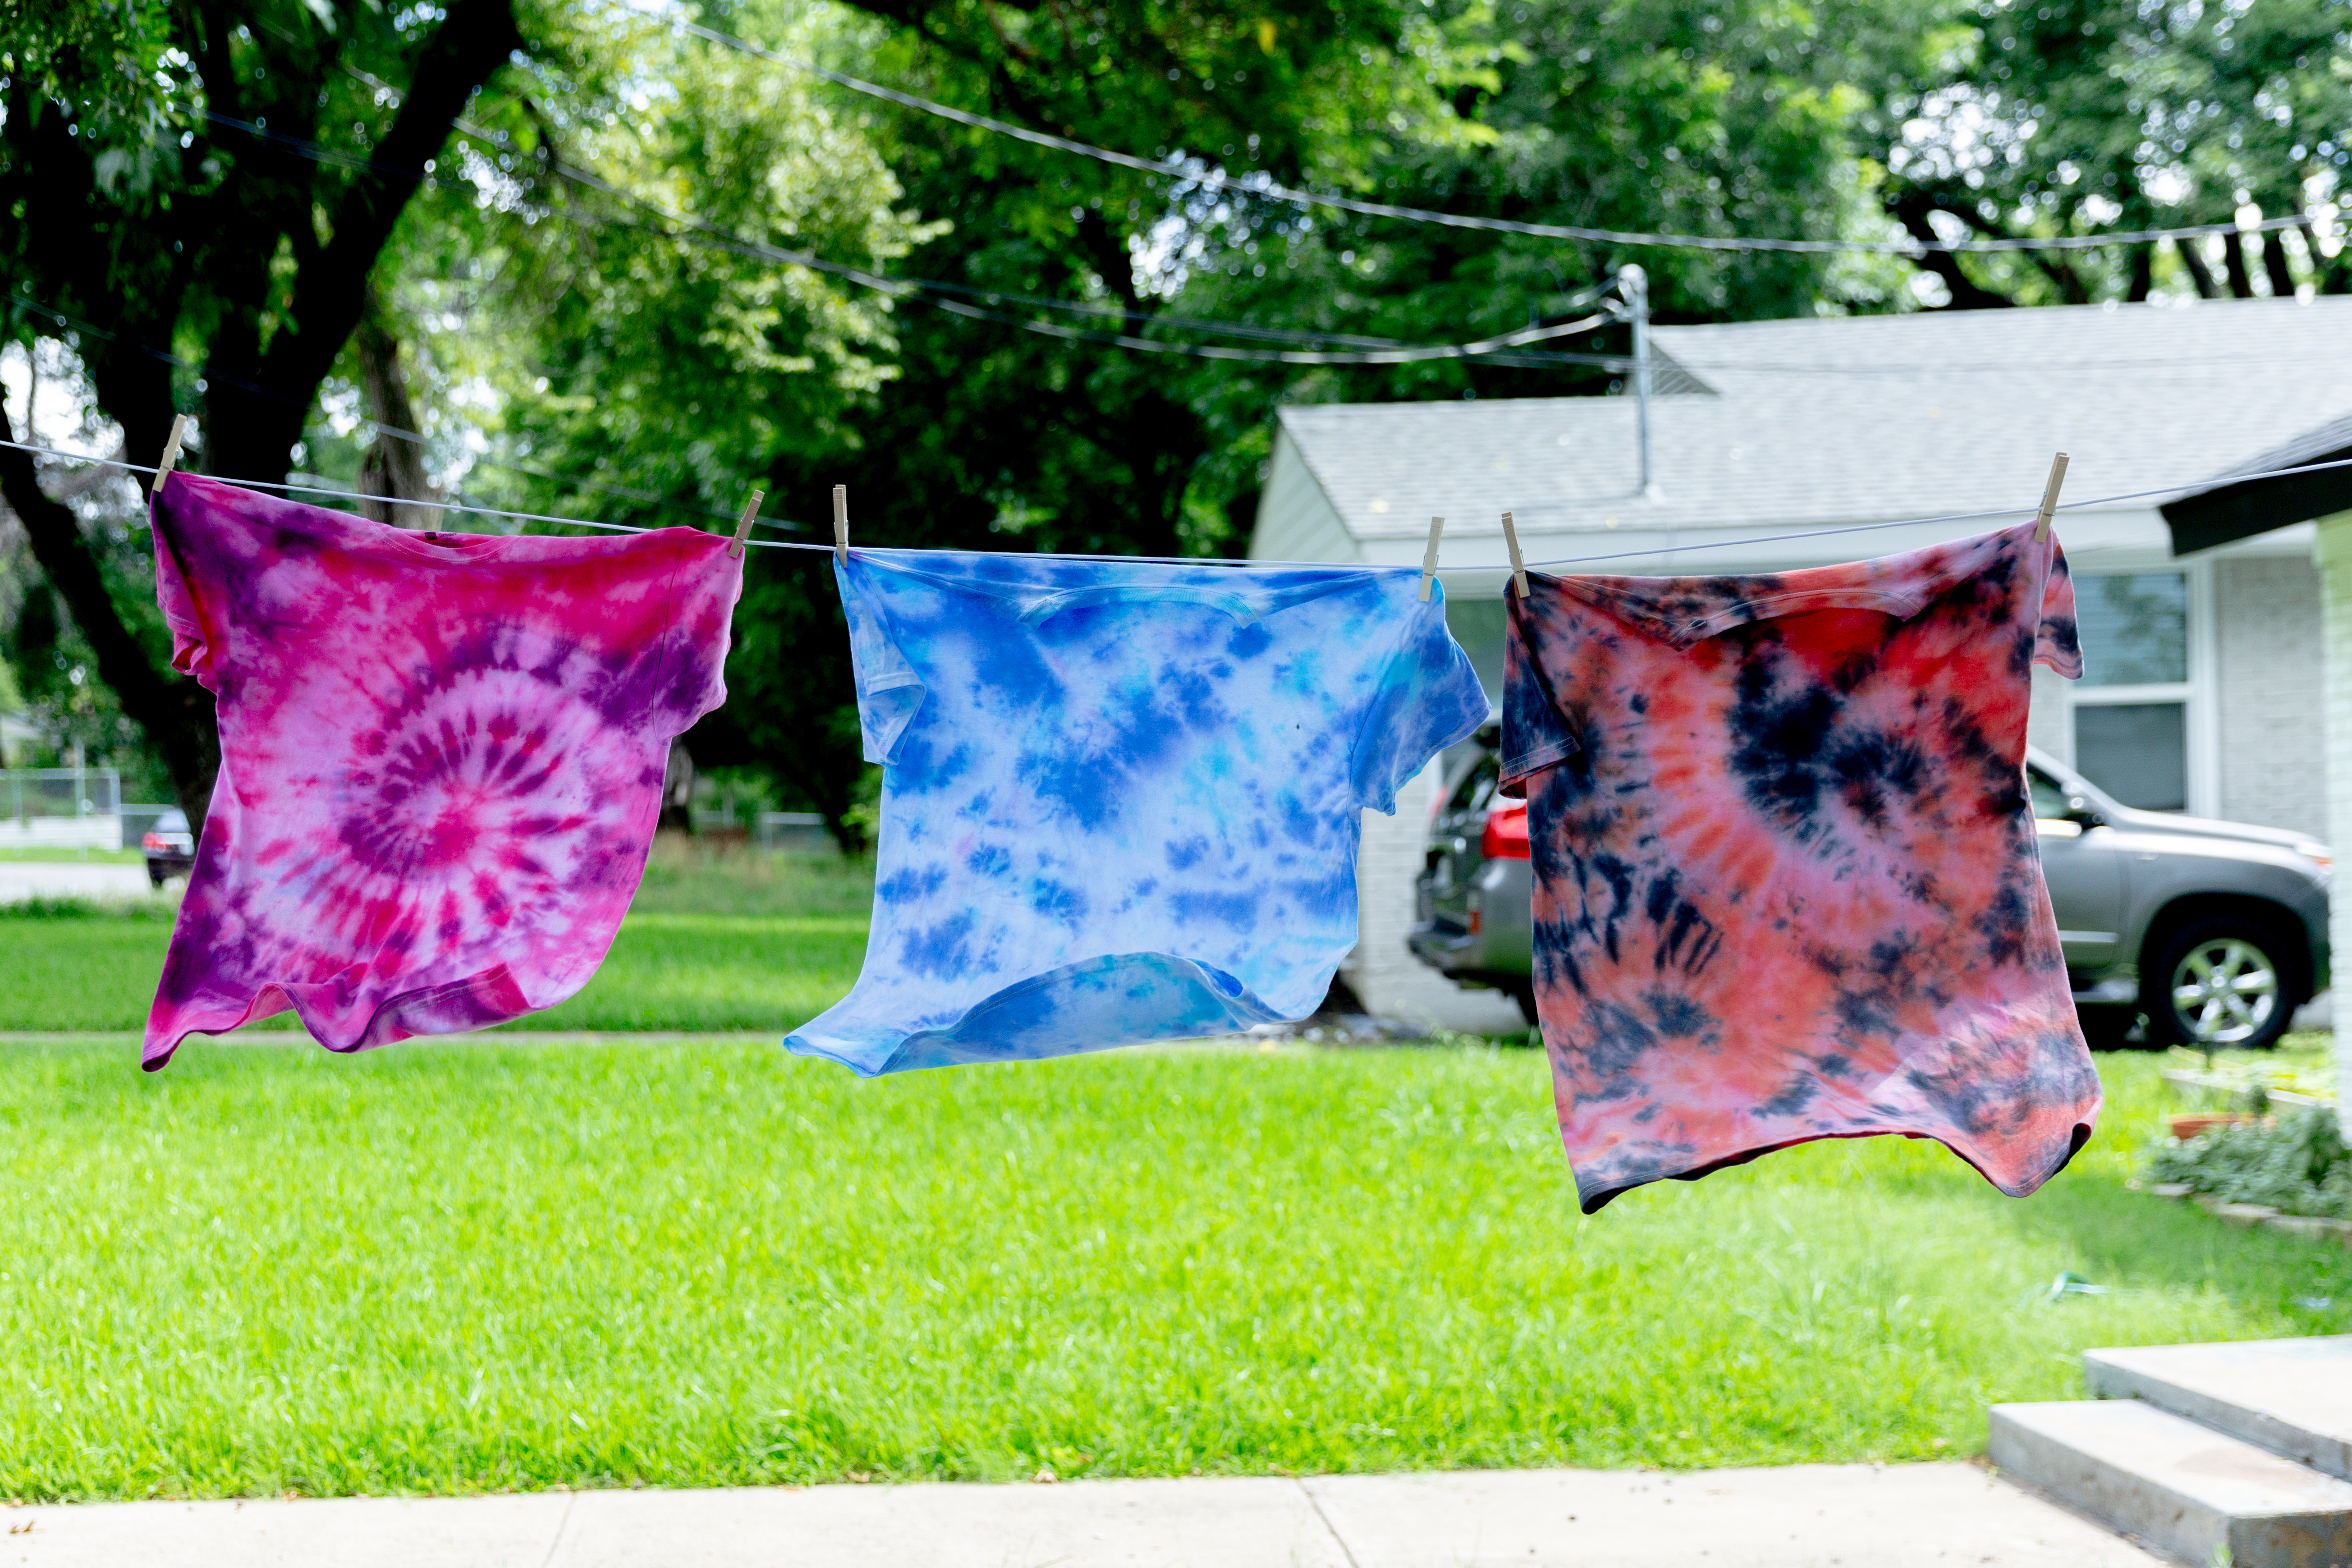
Your closet is about to get a whole lot groovier.
Get funky this summer by teaching the kids how to tie-dye clothes. This guide to DIY tie-dye is filled with tips and tricks to make your summer attire extra colorful. Here’s a step-by-step guide to making groovy patterns.
1. Select white, cotton clothes. The best type of fabric for tie-dyeing is cotton; any pure white cotton article of clothing, such as a T-shirt or sweatshirt, would be well-suited to this project. Make sure that the garment is washed.
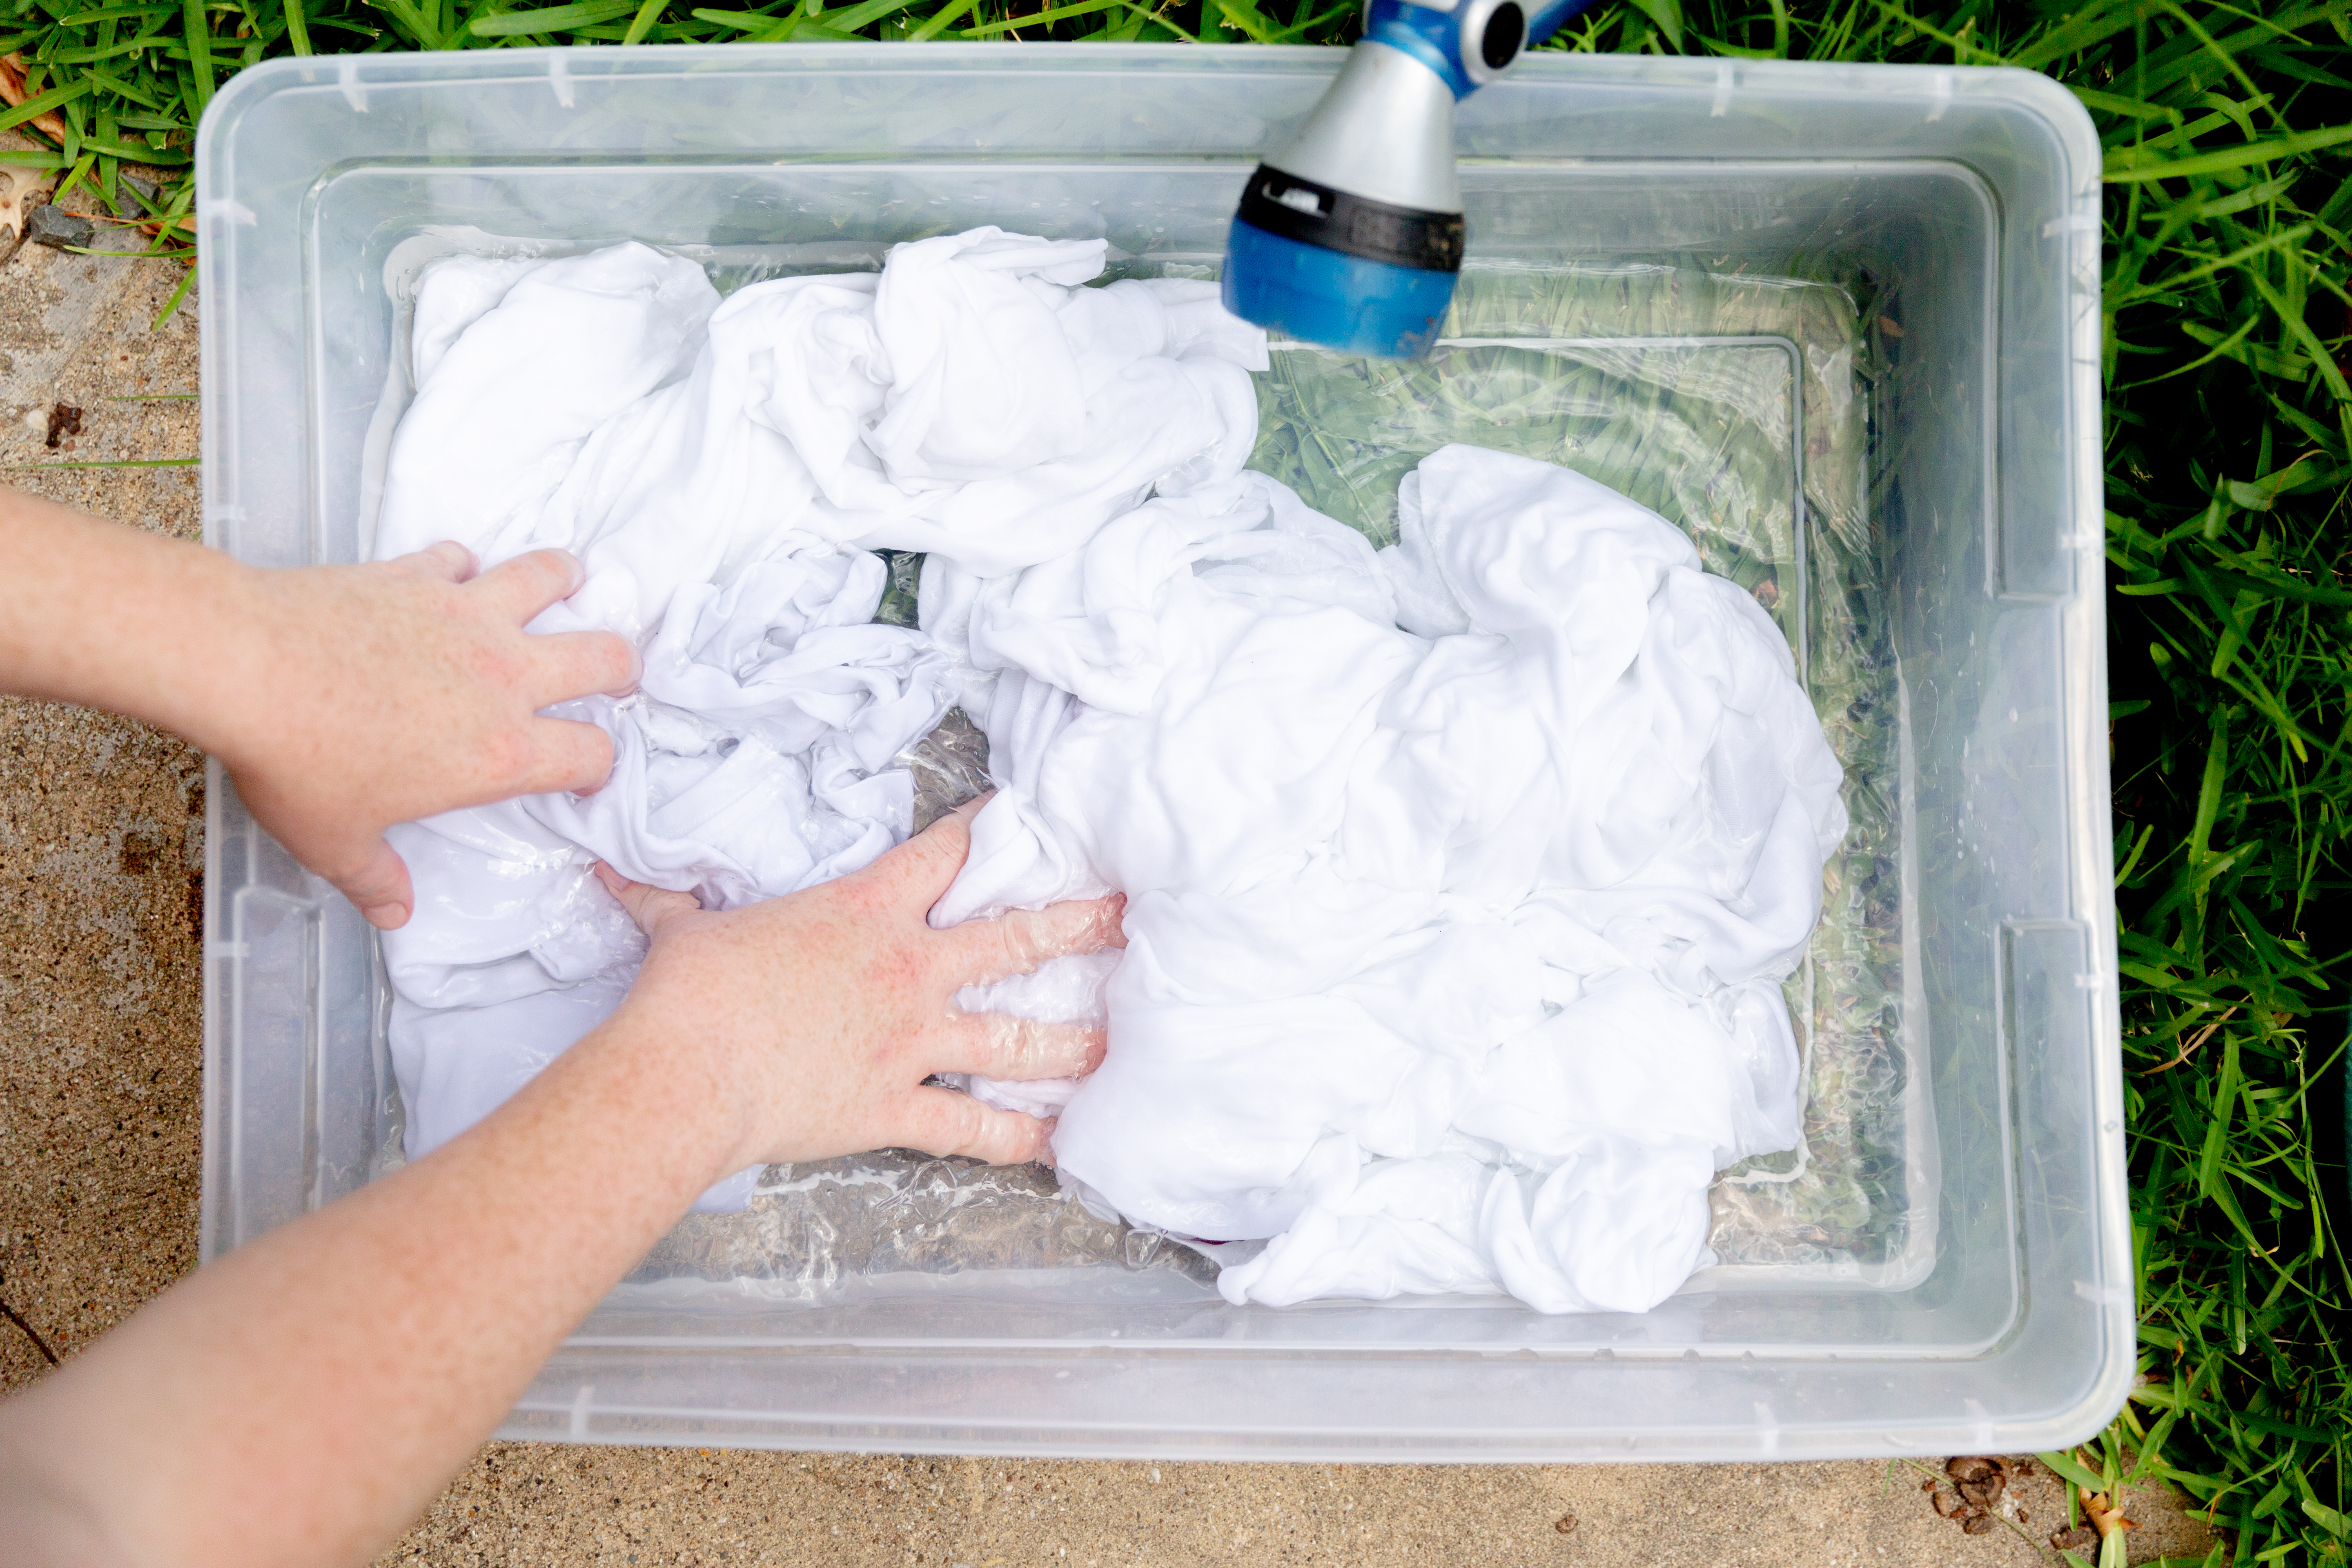
2. Presoak the fabric in warm water. Do this right before dye application to help the fibers receive the dye better.
3. Pick your dye. For the brightest colors, you can grab a decently priced tie-dye kit like this one. But if you’re committed to truly DIY tie-dye, you might prefer making your own dye using fruits, vegetables, and spices. This is a great eco-friendly, chemical-free option, but the dye may be duller in hue and less permanent. You can find instructions for homemade dye here.
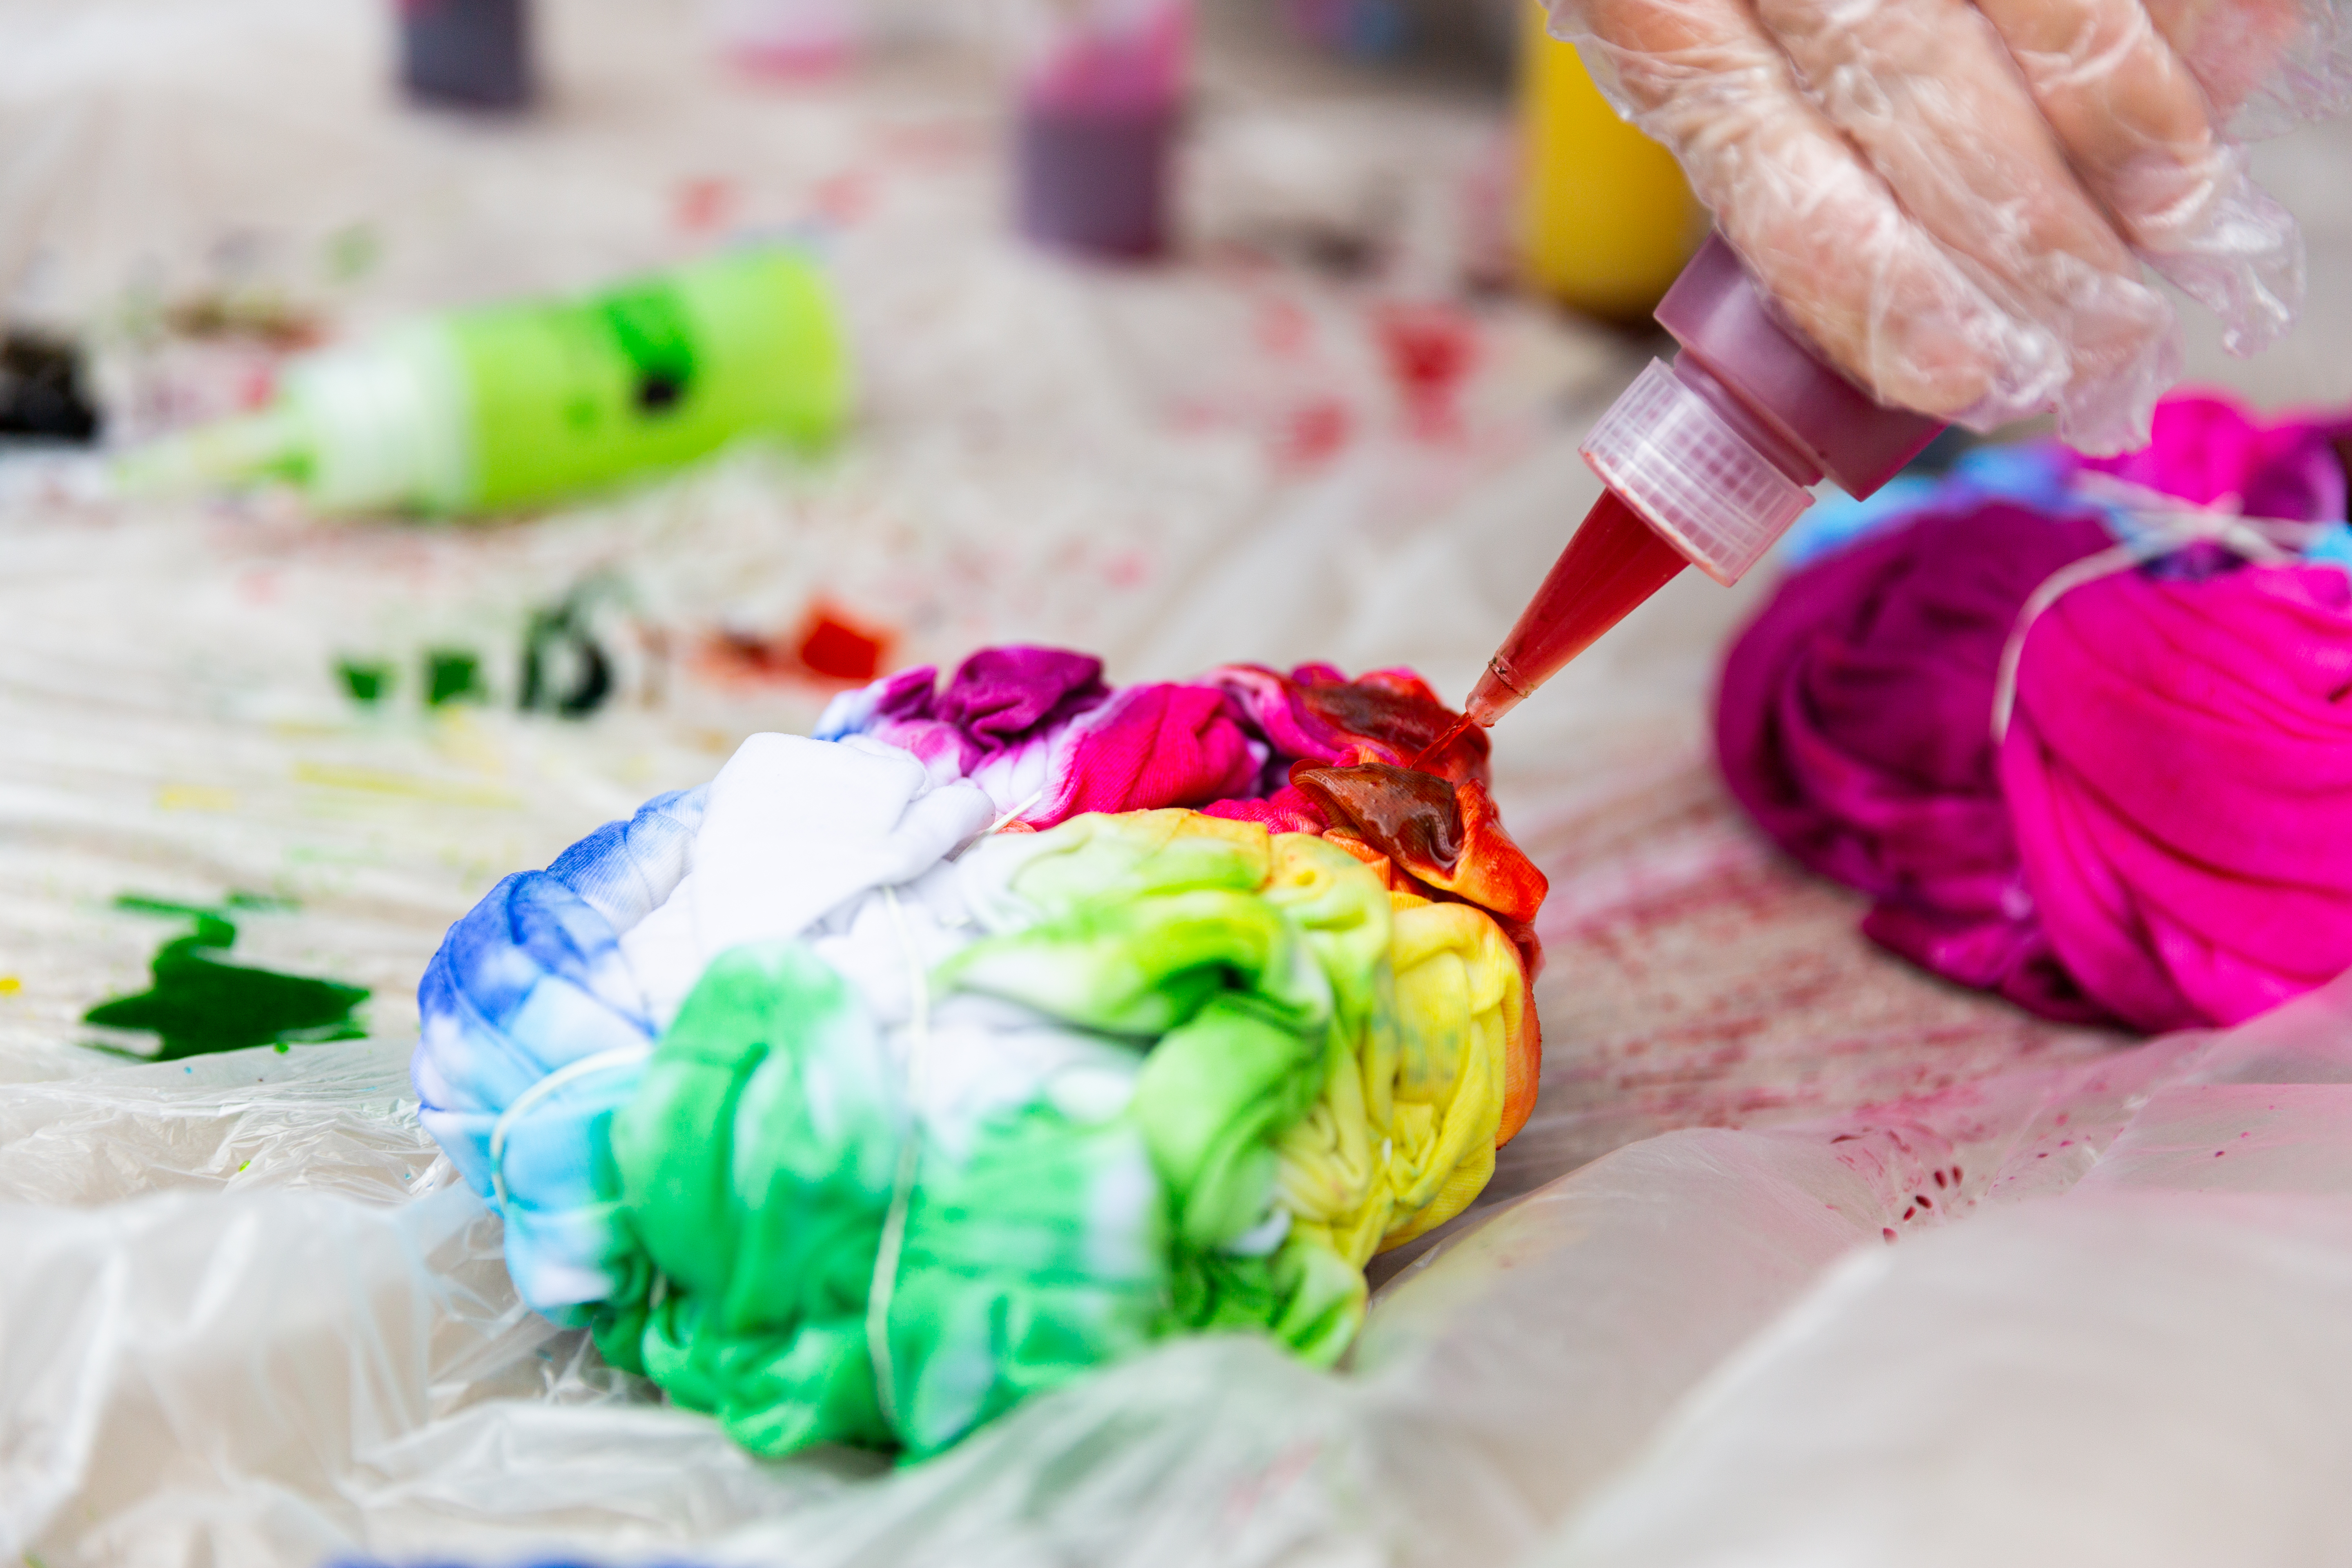
4. Tie-dye time. There are three main methods for tie-dyeing, each of which is reliable.
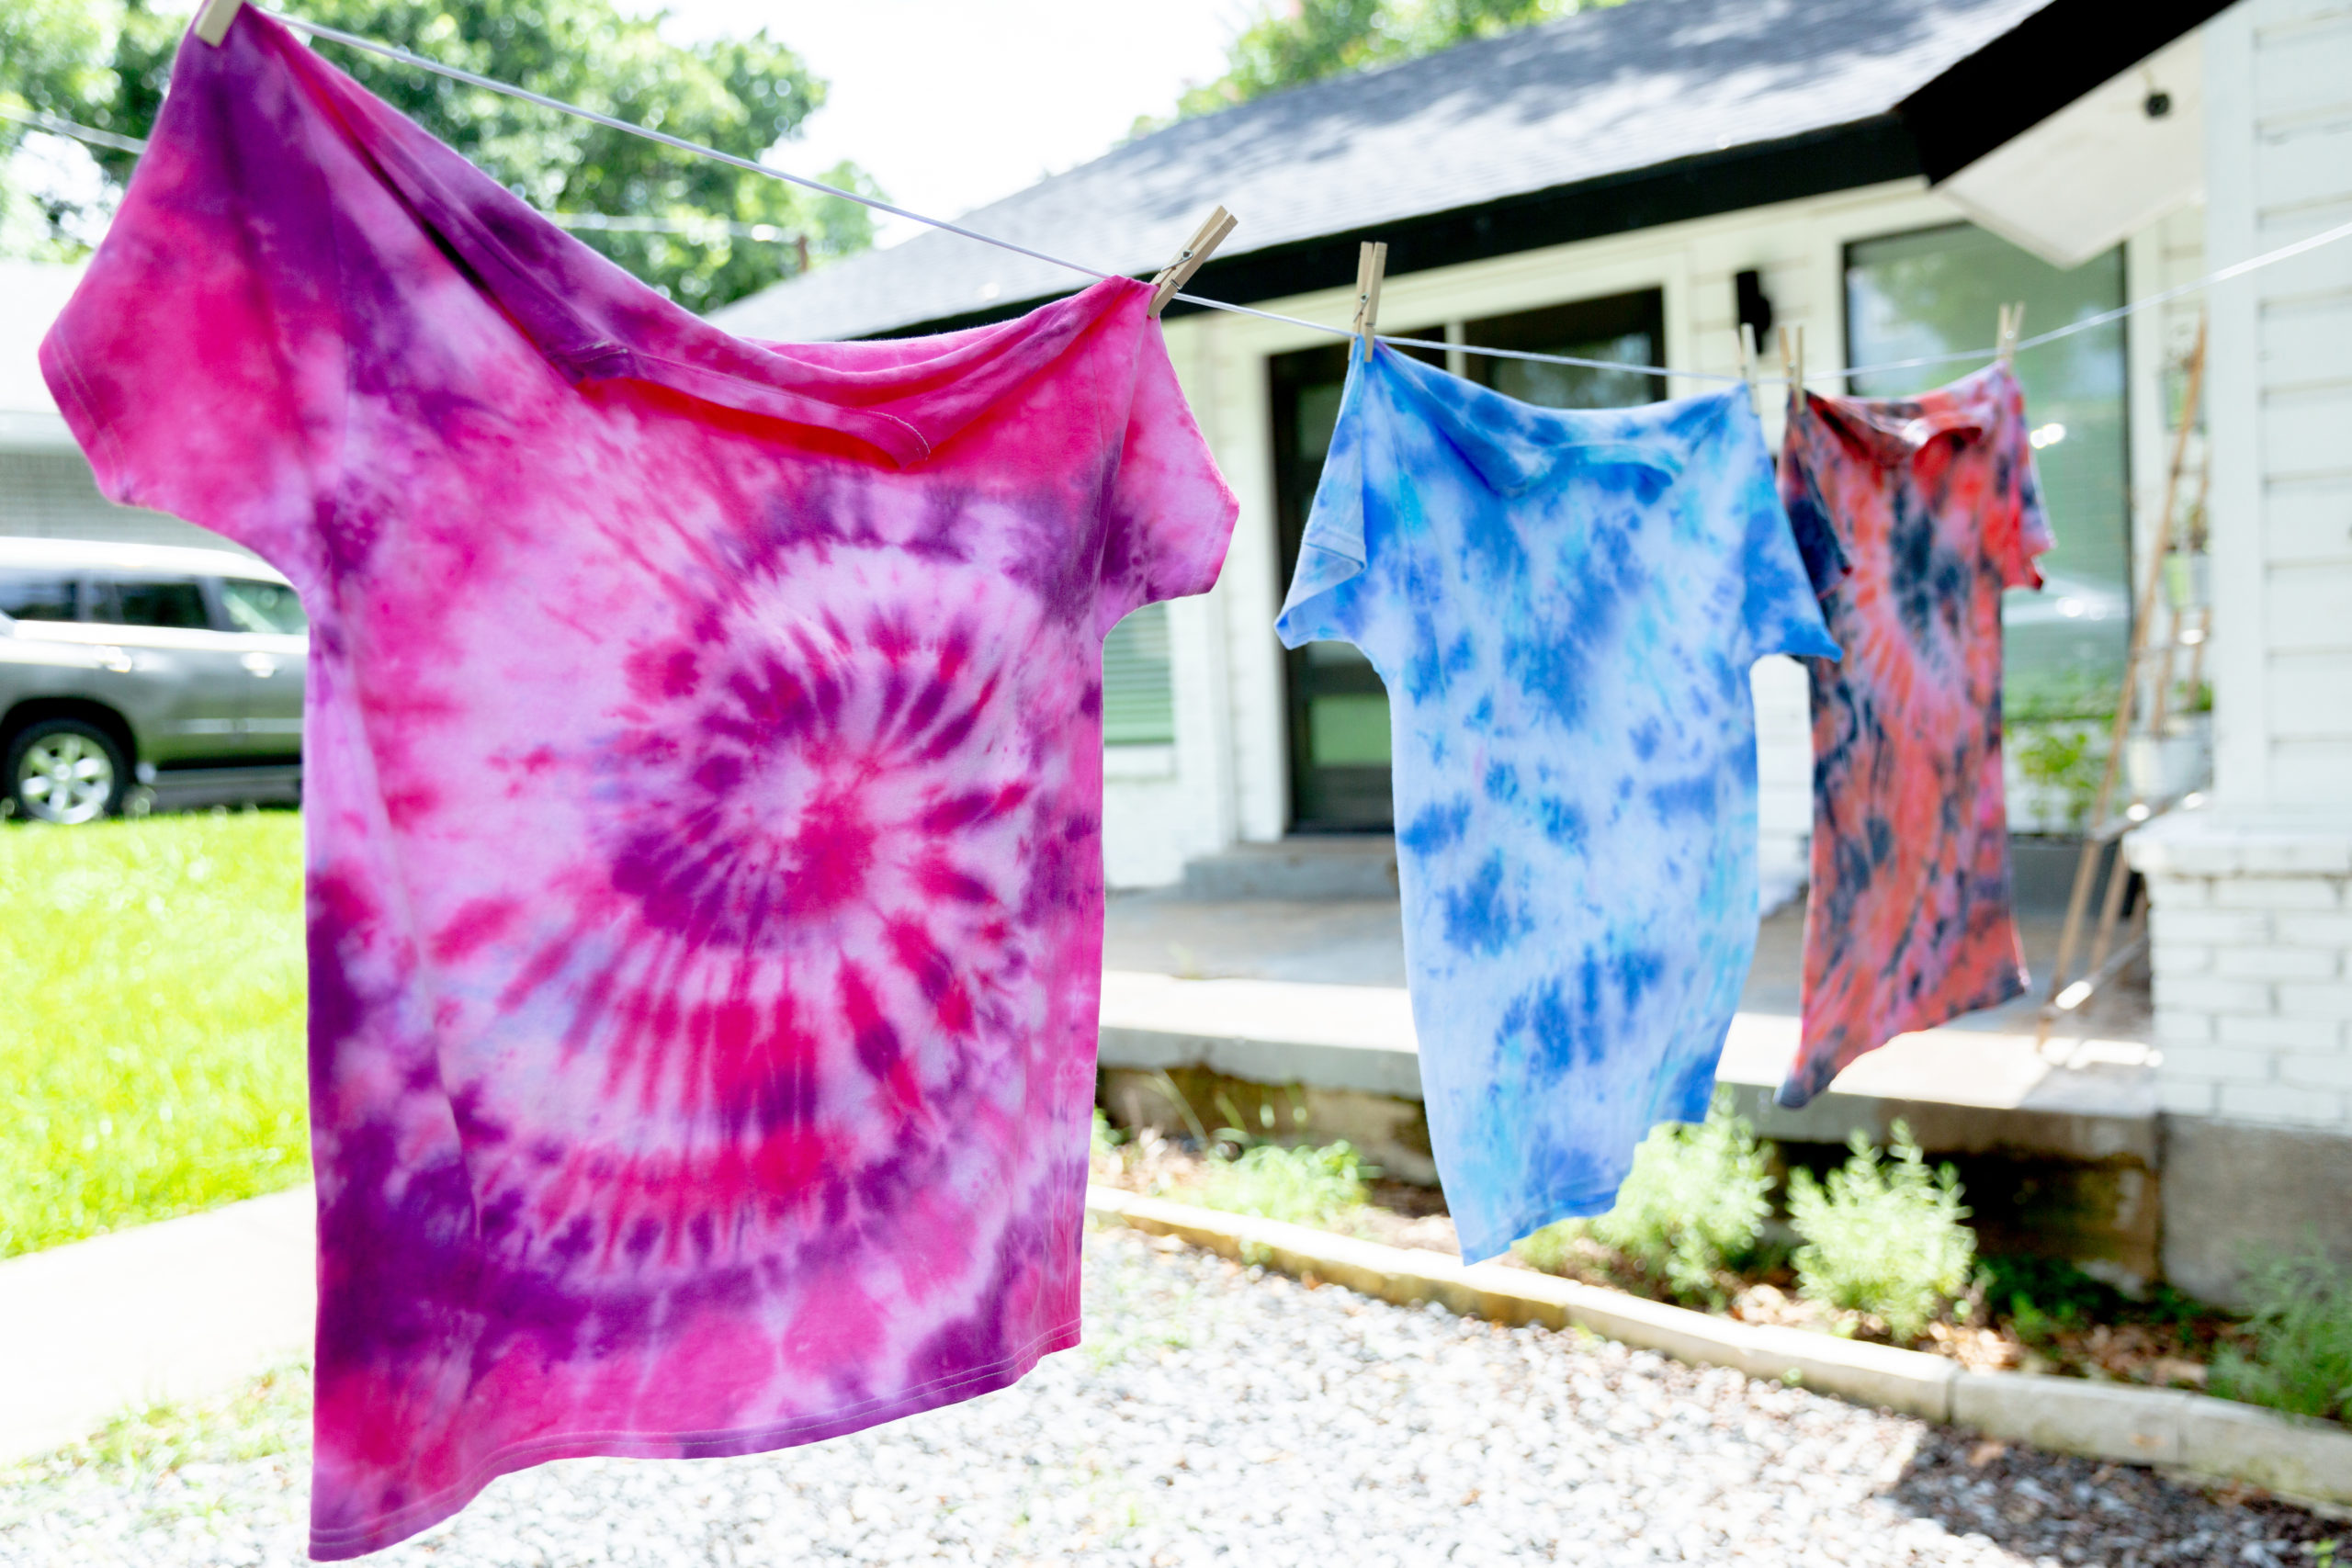
5. Wash the dyed garment. After letting the newly dyed clothing soak, rinse it with cold water until it runs clear. (Leave the rubber bands in place if following the first dyeing method.) Then, run your garment in the washing machine with cold water by itself. (If following the rubber band method, remove bands after the first wash, and wash it in cold water once more.)
6. Party time. Now that you are an expert on DIY tie-dye, throw a tie-dye party for the kids! Stock up on white cotton T-shirts, dye, rubber bands, salt, and ice. Have the kids try all three techniques on a hot summer day in the yard, where they are free to make a mess. Far out!
When the tie-dye party is over, enjoy these backyard summer games in your groovy new get-ups.

How Texans Celebrate Labor Day
Lean into the long weekend.

The Ultimate Guide to Modern Art in Texas
From big-city galleries to quirky art spaces, here’s where to get your fix of Texas art.

A Few of the Best Texas City Slogans
Did we miss your favorite?

What Is the Spring Equinox? And How to Celebrate
It’s all about balance.

Texas Travel Guide: South Texas City Spotlights
The ultimate roundup of towns in South Texas.

How Texans Celebrate the Holidays
At Texas Farm Bureau Insurance, we think of our Agents and our clients as one big family. Here’s how our family celebrates.