Please sign in as a member or guest below to access it.
Please sign in as a member or guest below to access it.
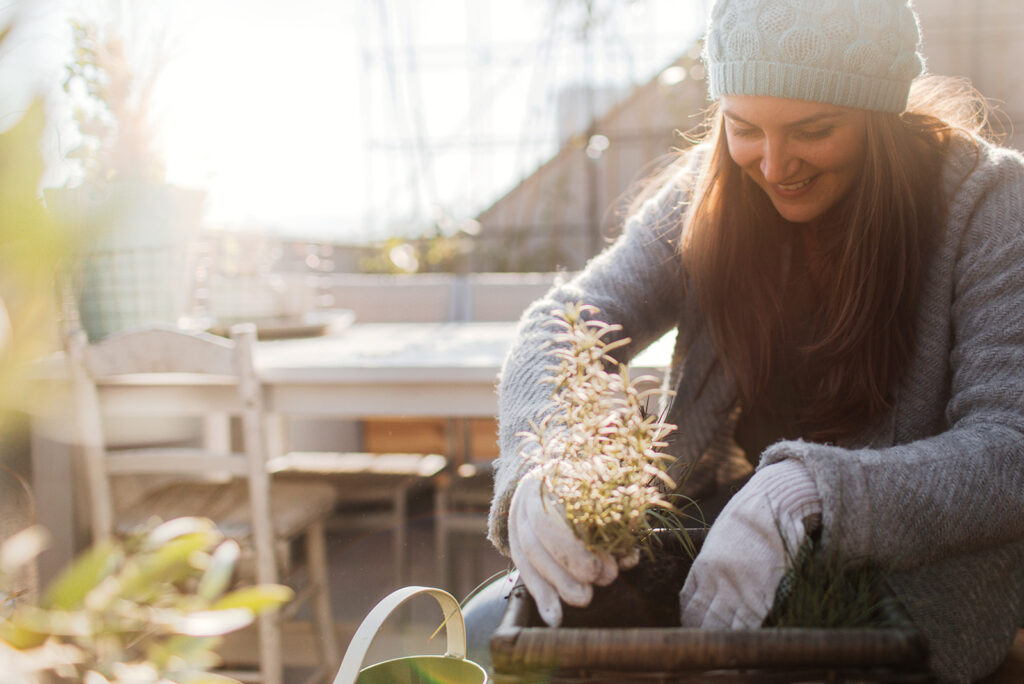
The best part: Mushrooms don’t take much room.
While foraging for mushrooms could be a fun adventure, growing your own at home is easier — and less risky. Follow our guide to building a mushroom garden in your house, from cultivating and caring for your spores to harvesting them to eat.
Firstly, let’s be honest: The simplest way to start your mushroom garden is to tend an already cultivated mycelium (the mushroom’s network of white, threadlike roots). Luckily, there are many types of mushroom starter kits available online. Kits will include simple instructions for growing mushrooms right on your kitchen counter. Mushrooms are typically very low-maintenance: They like to grow.
A few of our favorite kits:
If you’re ambitious enough to start from scratch instead of using a kit, read on!

In nature, mushrooms are usually found growing over shadowy forest beds, around the bases of tree trunks, and in dank caves or outcrops. These environments are ideal for providing spores with the nutrients they need to develop into healthy mushrooms.
When planning a home mushroom garden, think of a place in your house that could replicate their dark, cool, and humid natural habitats. Also, keep in mind that most mushrooms require temperatures to hover at or just below 6 F. Cabinets, under the sink, and (if you have one) basements are areas of your home that can emulate mushroom-friendly conditions.
You’ll need a few materials for starting your little mushroom garden:
1. Spawn: Fill your planting tray with your determined compost and manure mixture. Spread spores on top of mixture — you have created a spawn! Now the trick is to turn the spawn into seedlings.
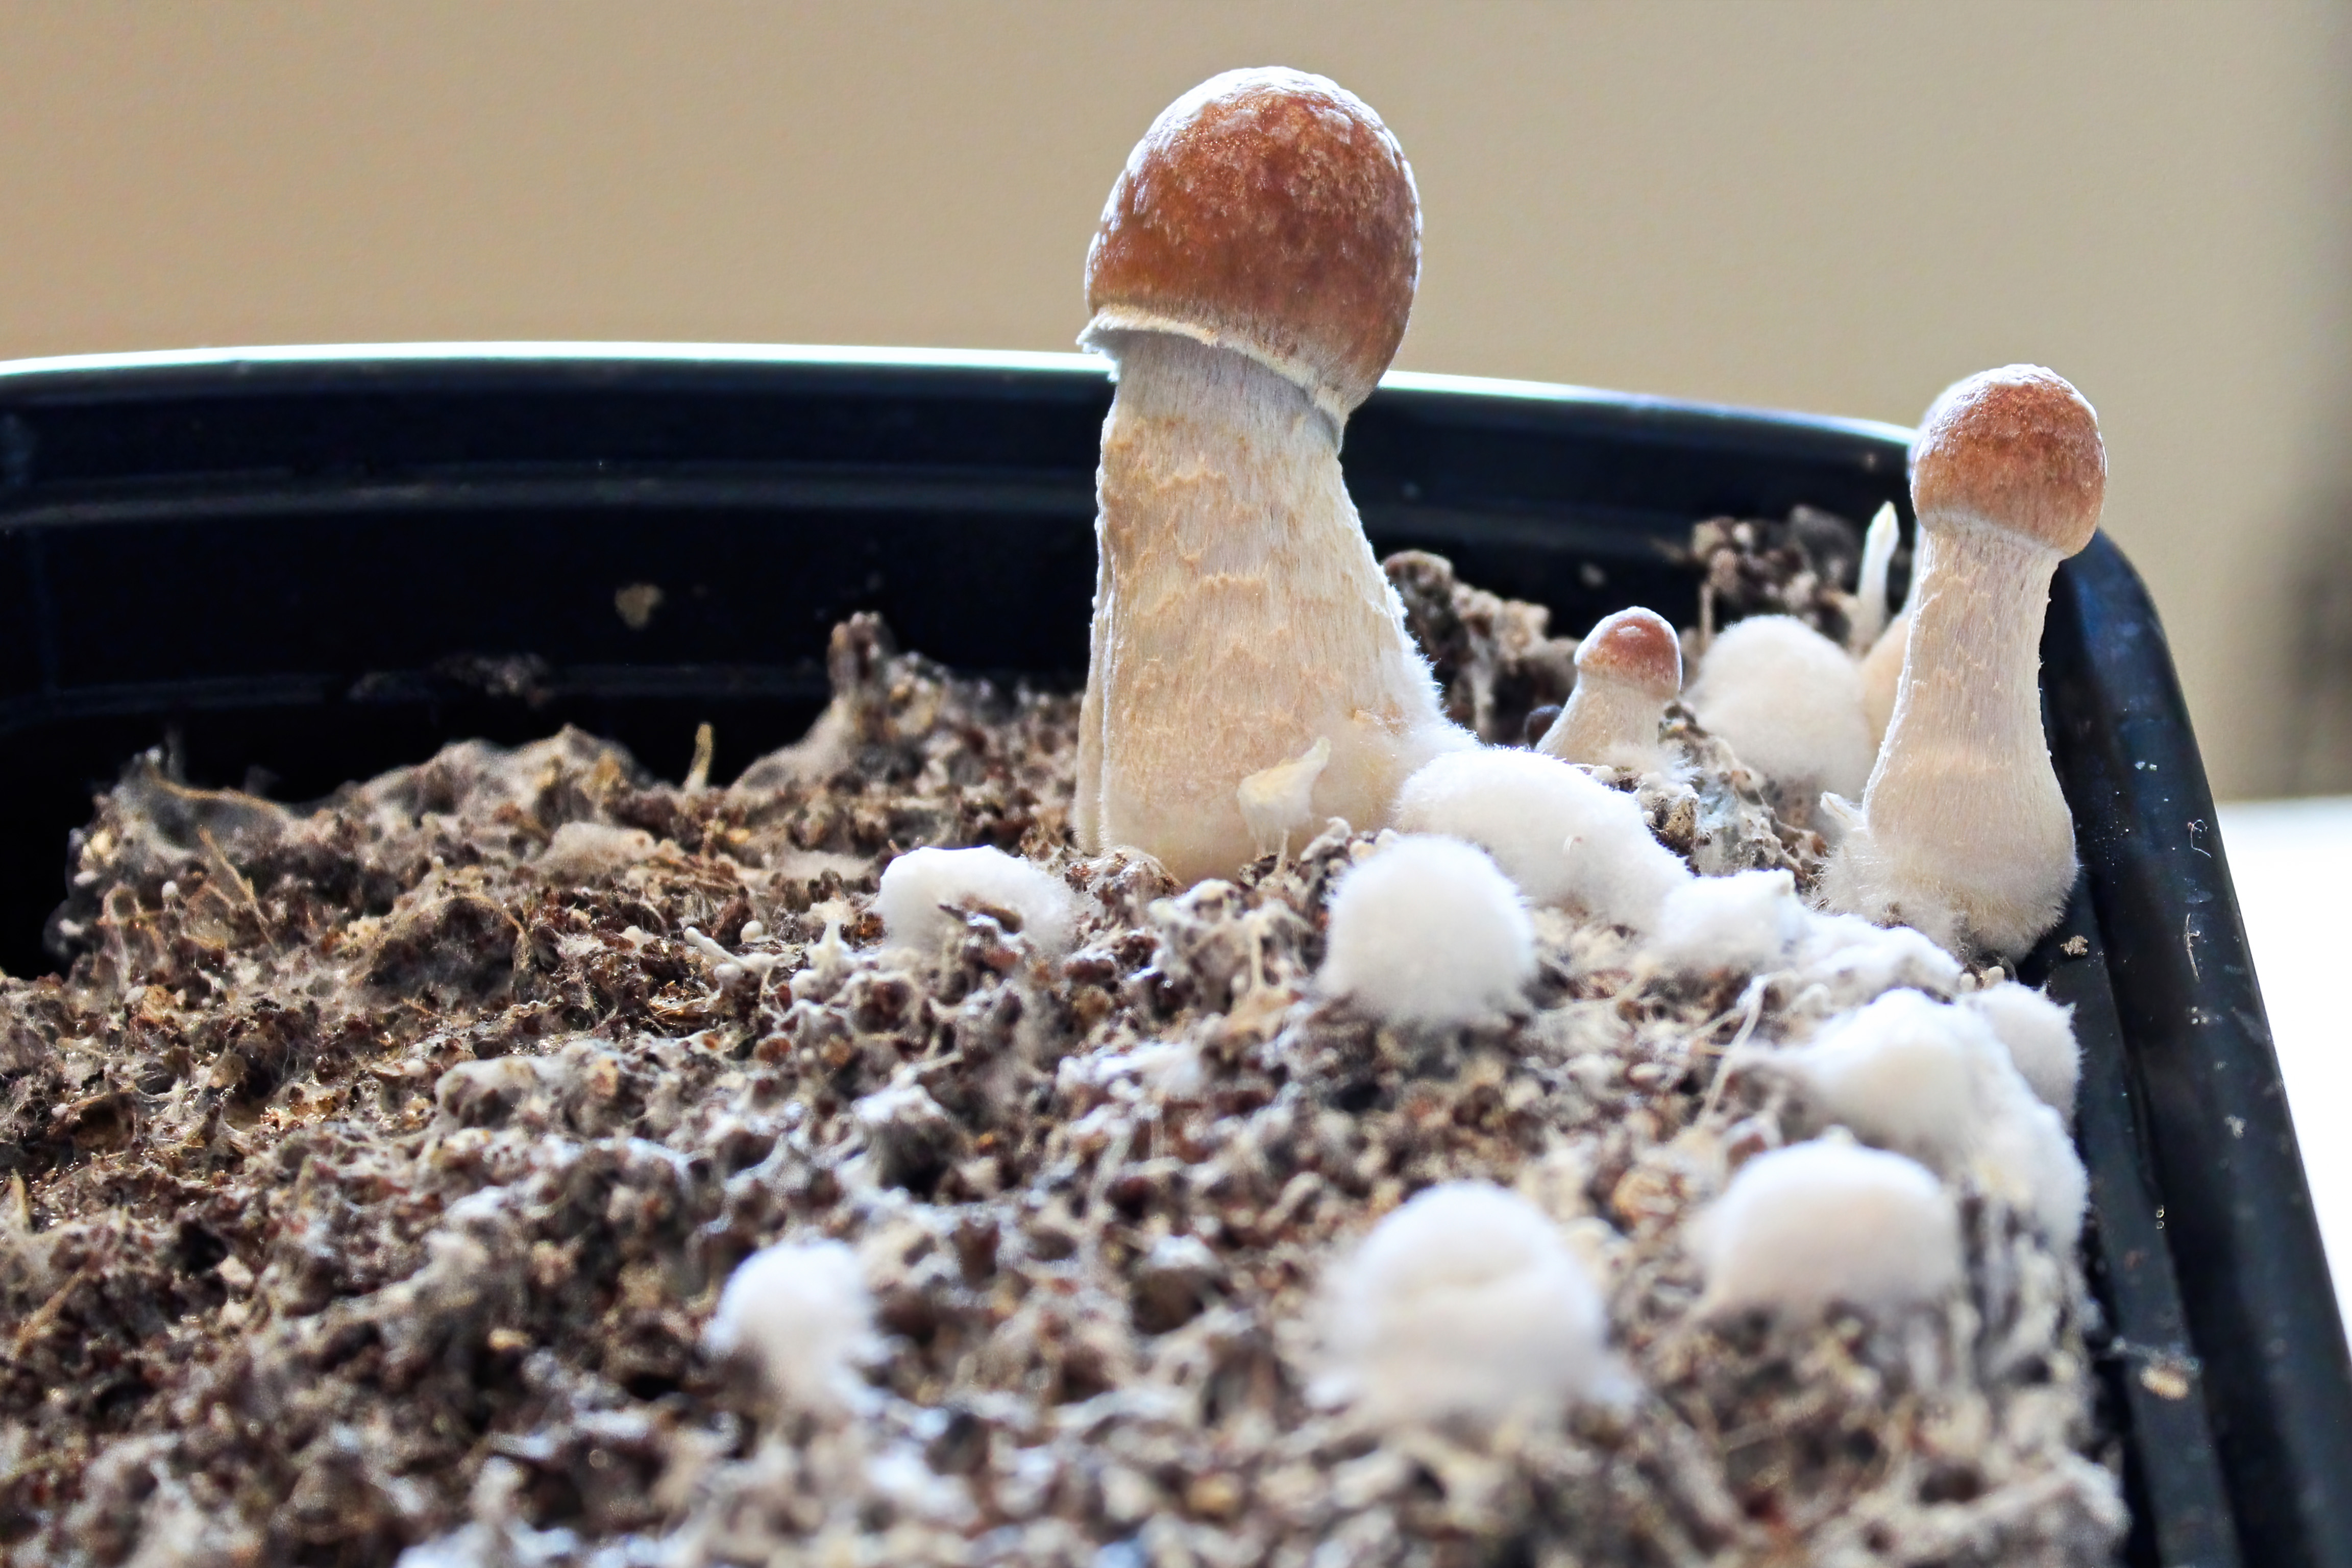
2. Incubate: Place your seedling incubation mat under your tray to You’ll want to keep your spawn between 60 F and 70 F; if the soil reaches temperatures higher than 70 F, the spores could die. You may opt to place a seedling incubation mat under your tray for temperature stabilization. Cover the top of your soil with a damp paper towel and spritz with water several times a day. Keep your tray in a dark place and monitor the soil temperature with your thermostat or with a thermometer. After two to three weeks, long white threads should start to appear. These are the mycelium!
3. Grow: Remove the heating mat, if you’re using one — your babies are ready to grow on their own. Cover your new mycelium with a bit of potting soil and place your tray in the cool, dark spot you’ve found, making sure the soil temperature now stays between 55 and 60 F. Continue spraying with water several times a day and keep the paper towel on top of the potting soil damp.
4. Harvest: In about a month, you should have fully grown mushrooms ready for harvest. Harvest them daily by slicing individual mushrooms at the stem. Your mushroom garden should last for about six months.
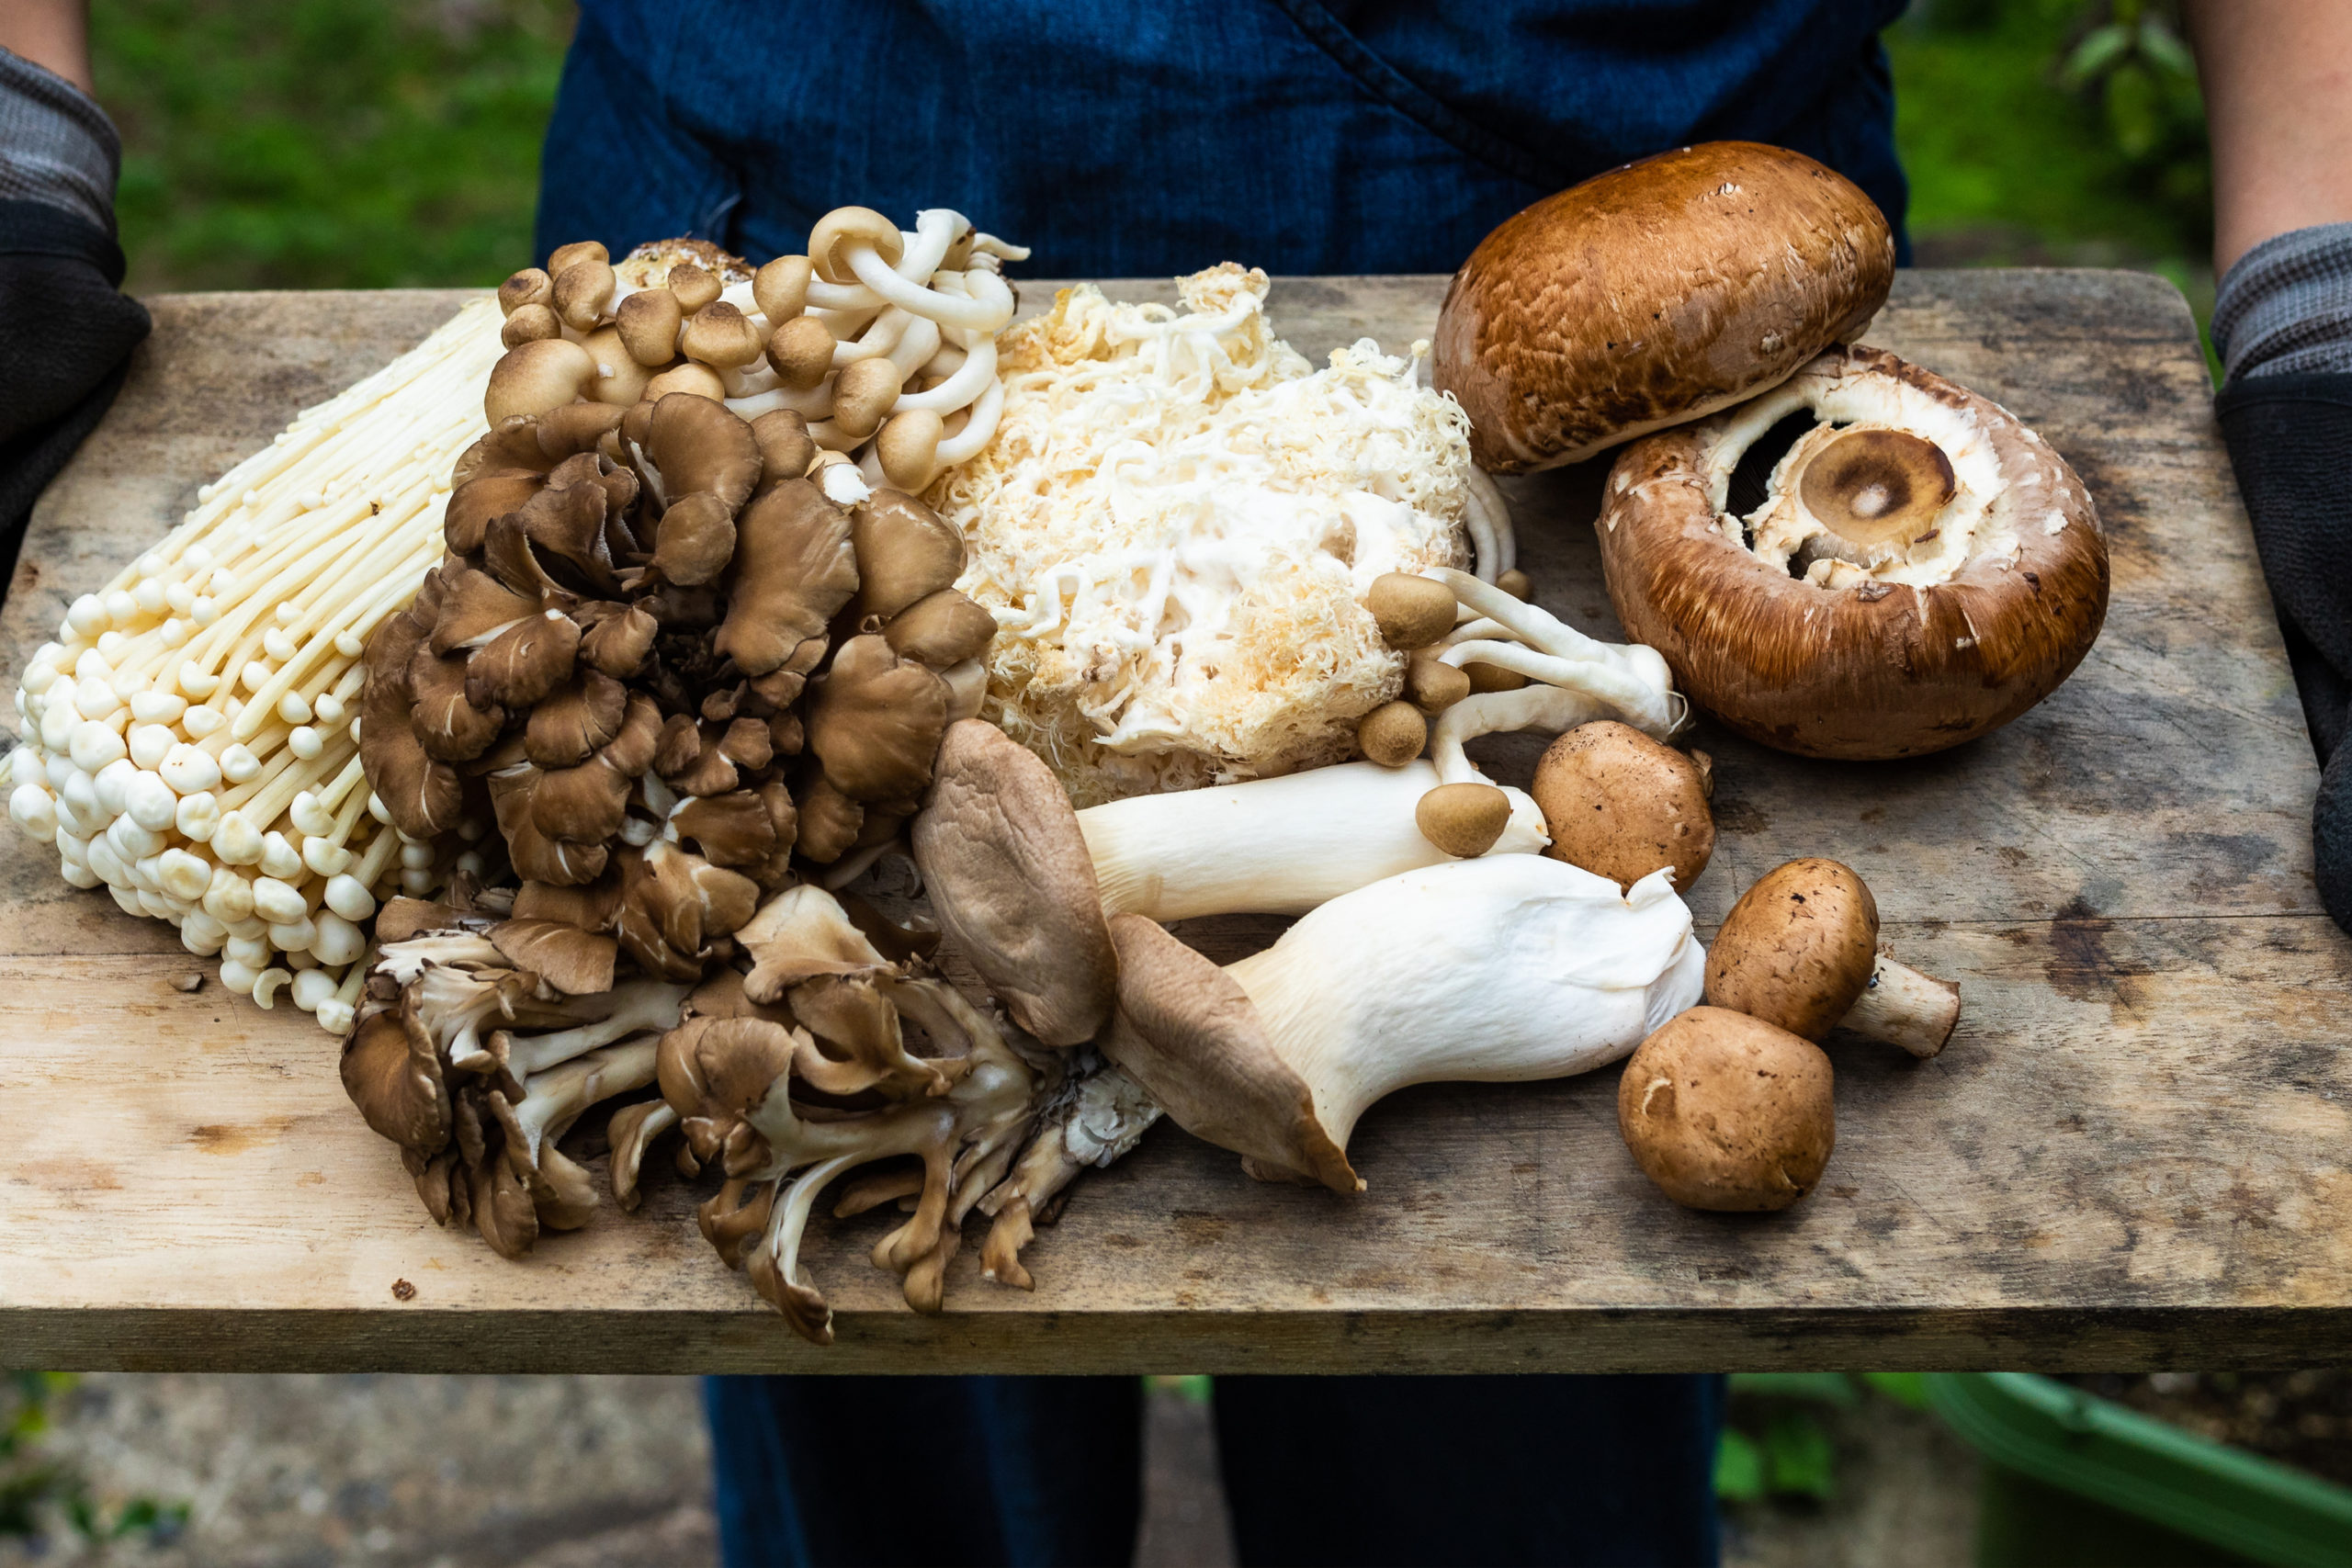
If you’re looking for the perfect recipe for your homegrown fungi, try our mushroom risotto.
How to Protect Your Garden from a Texas-Sized Freeze
Keep your landscaping safe and warm the next time freezing temperatures hit Texas soil.
Common Hidden Home Problems in Texas
Some of the most serious issues could be growing under your nose.
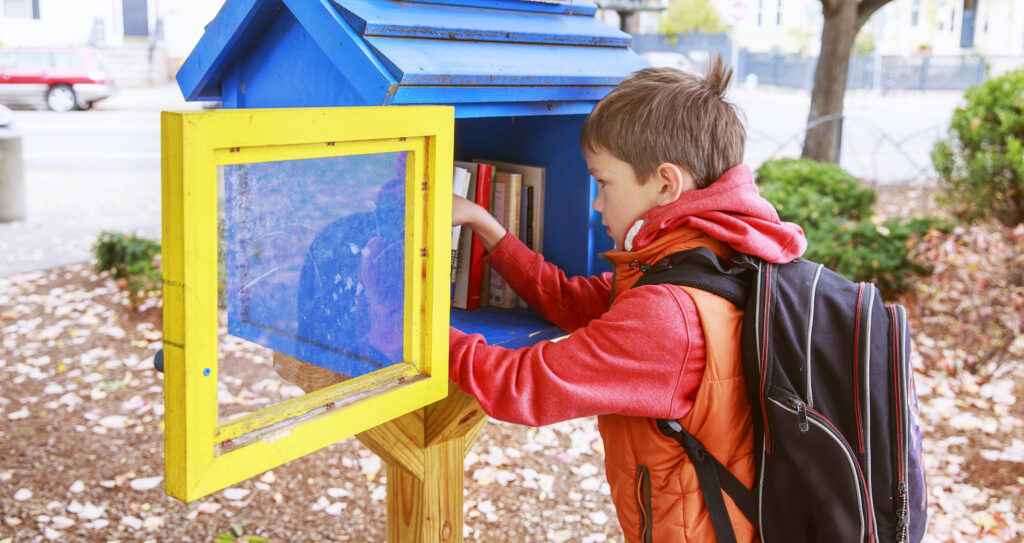
How to Start a Neighborhood Book Box
Time for your neighborhood to embrace its inner bibliophile.
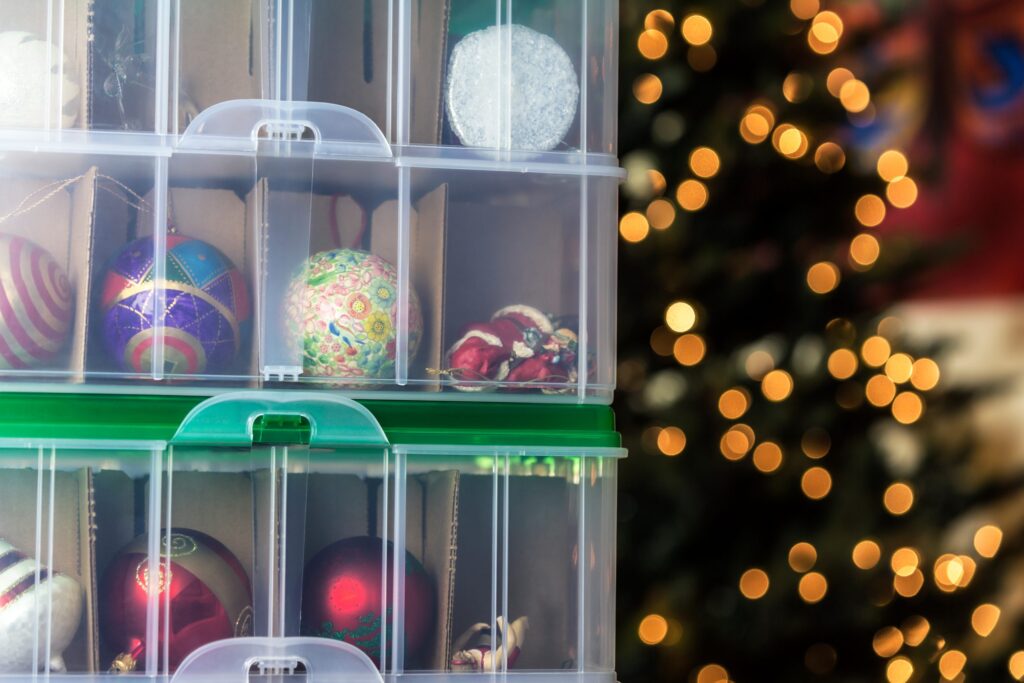
How to Store Holiday Decorations
Prevent misplaced items and accidental breakage with these tips.
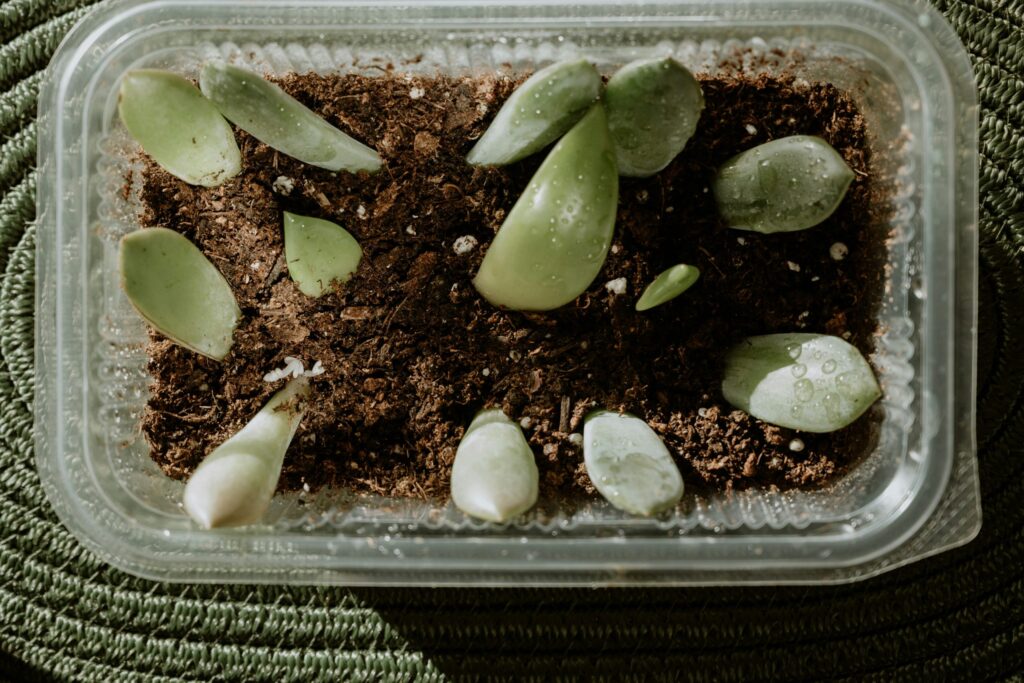
For a greener, healthier home.
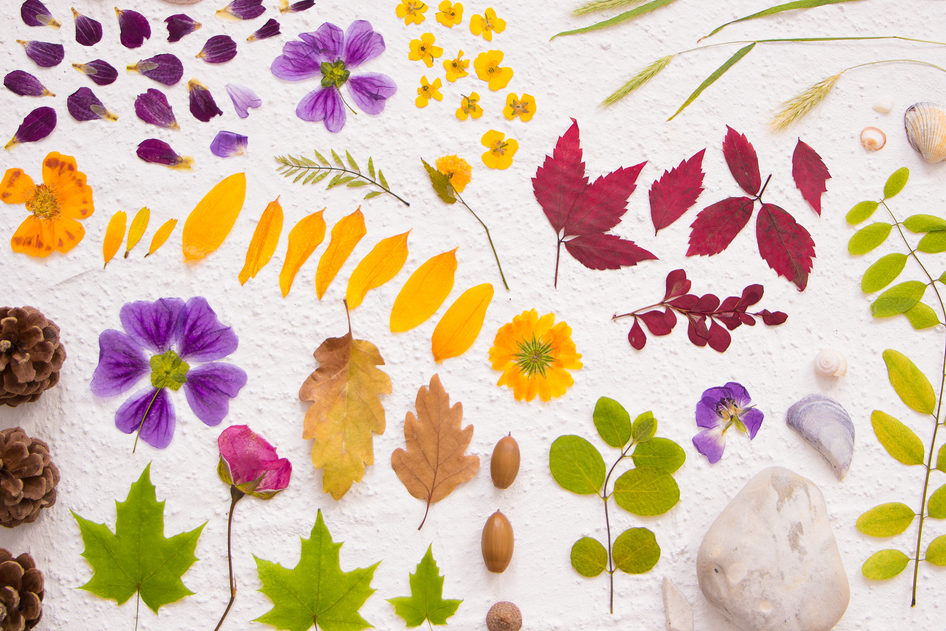
Preserve a beautiful piece of nature with this guide.