Please sign in as a member or guest below to access it.
Please sign in as a member or guest below to access it.
Get the family outdoors with this fun project.
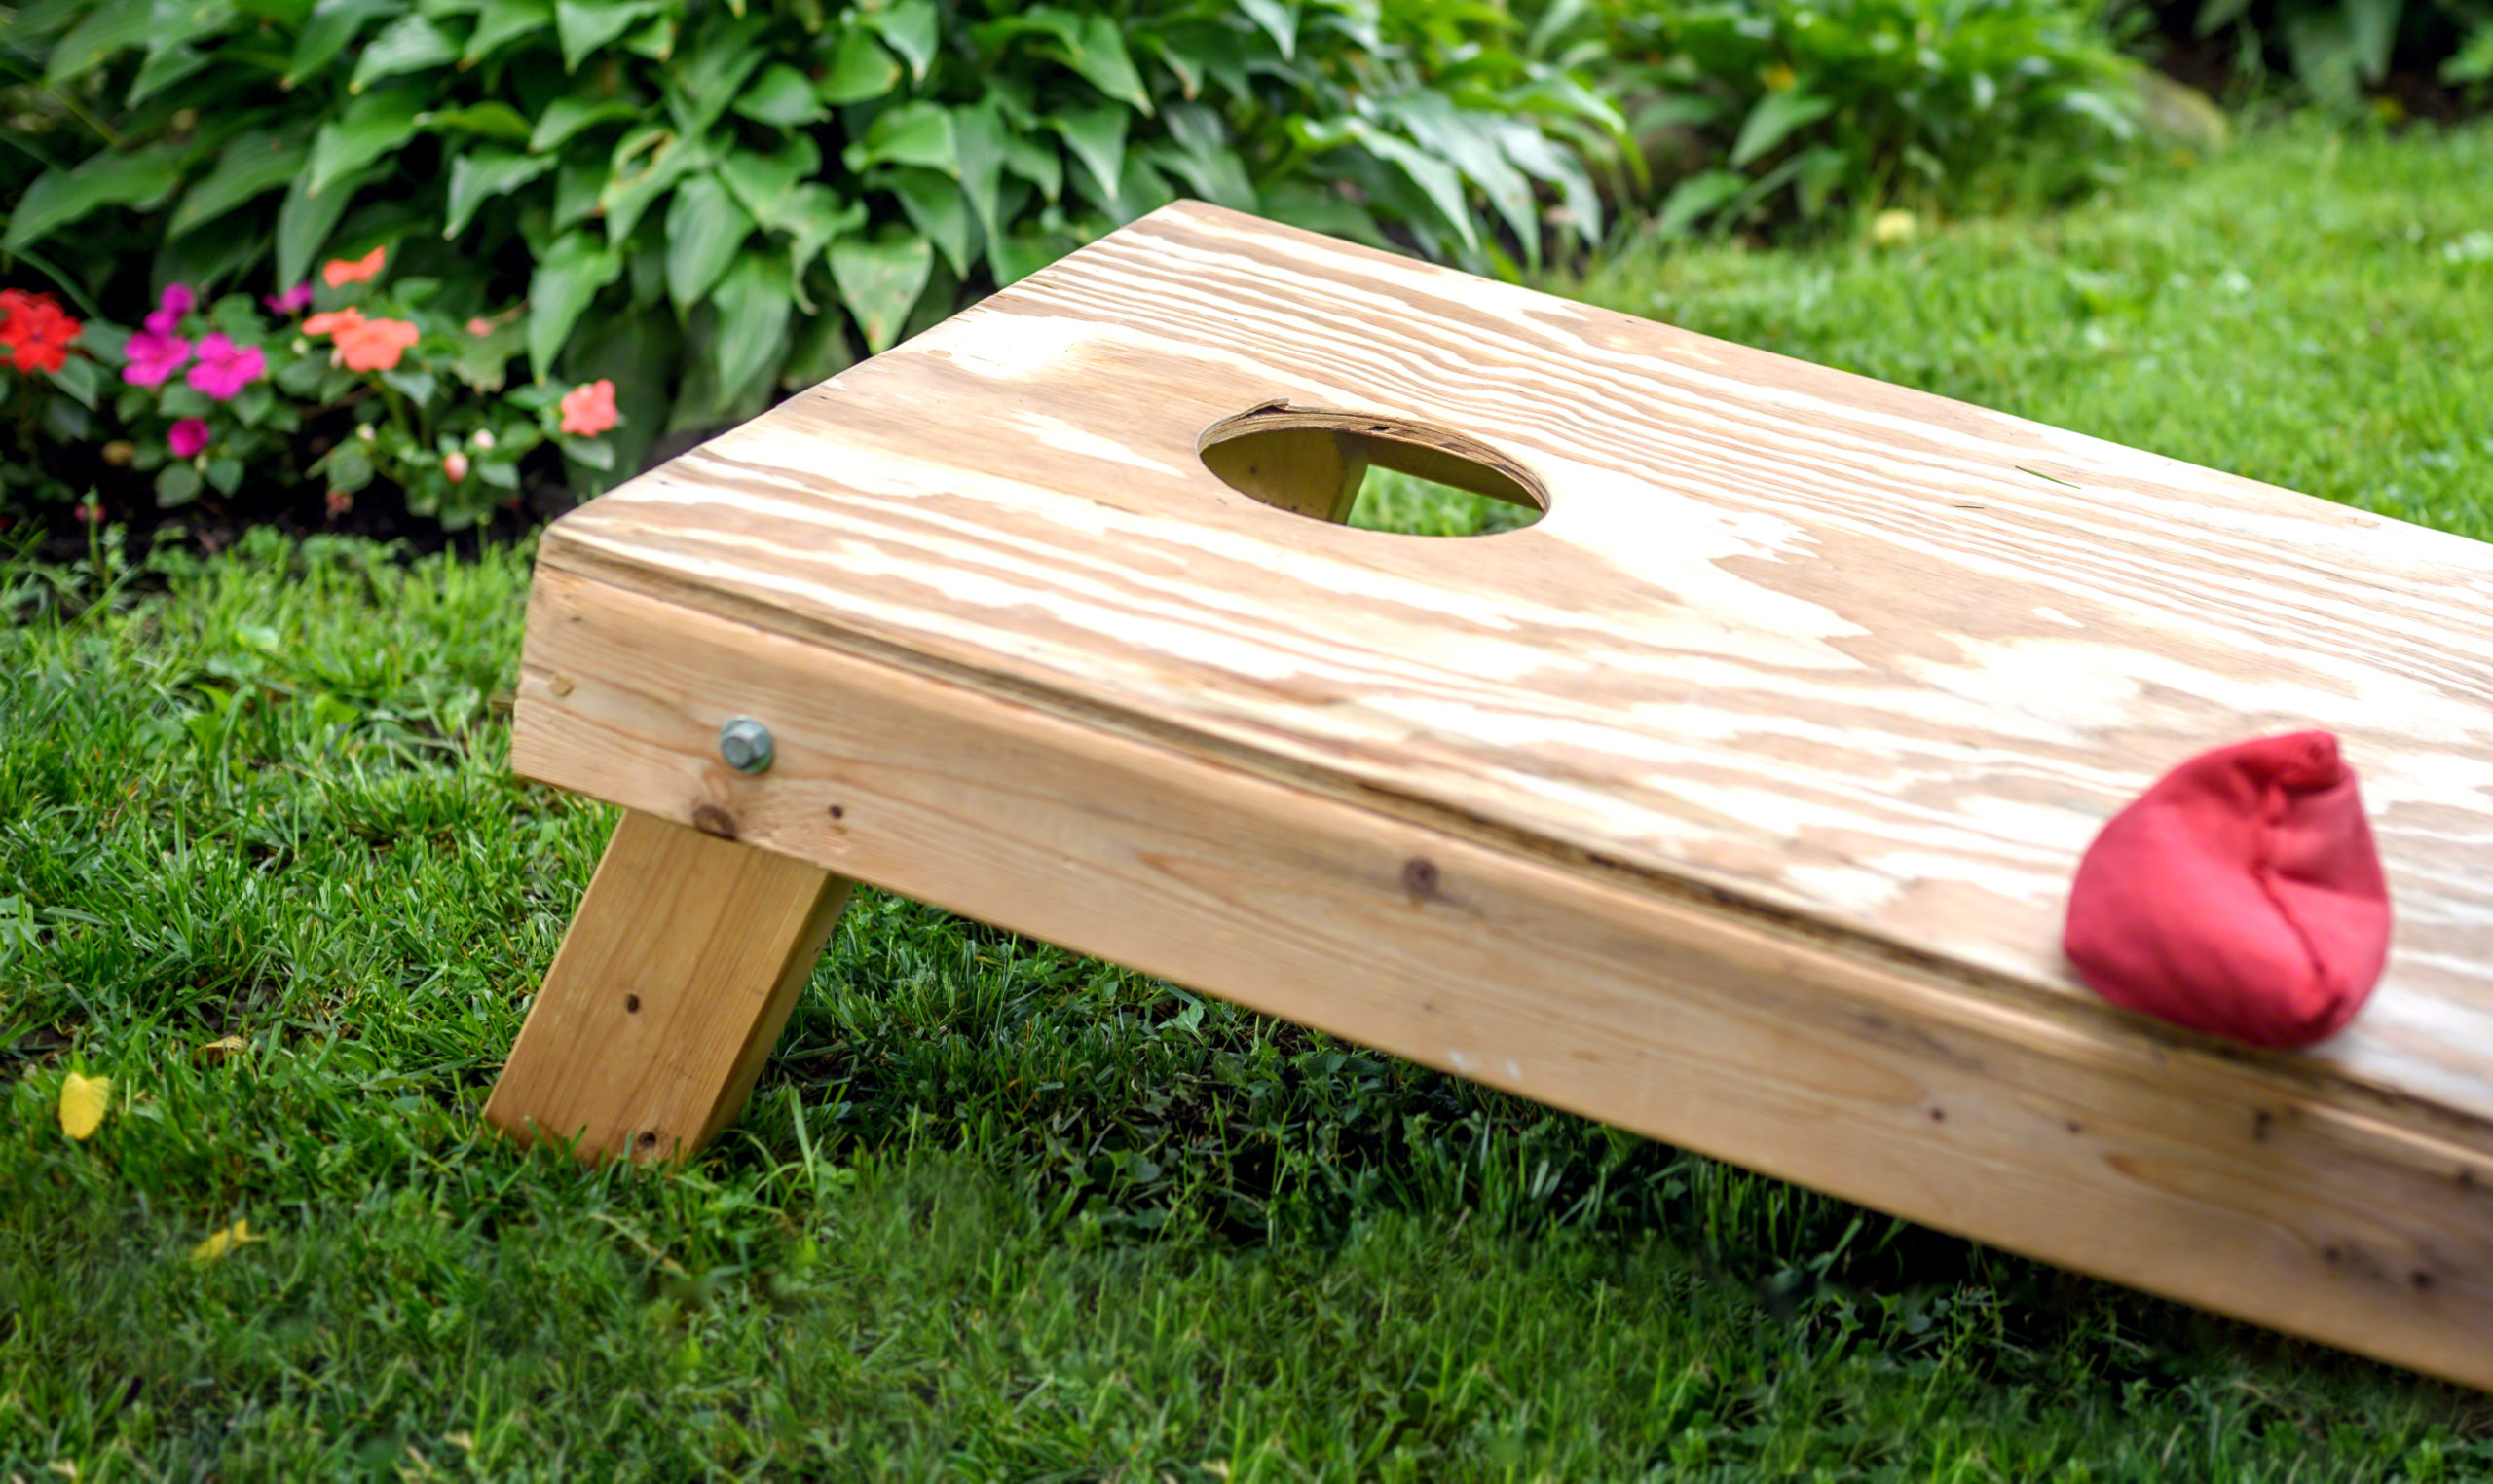
Pry your family away from their devices and get everyone out into the backyard for some quality time. Building a DIY bean bag toss is the perfect project and will offer countless hours of fun once it’s all built.
There are two fun parts to building your own DIY bean bag toss: the board and the bean bags. You can get as creative as you like with woodworking, sewing, and painting, really bringing your family’s personality to life.
Materials:
Tools:
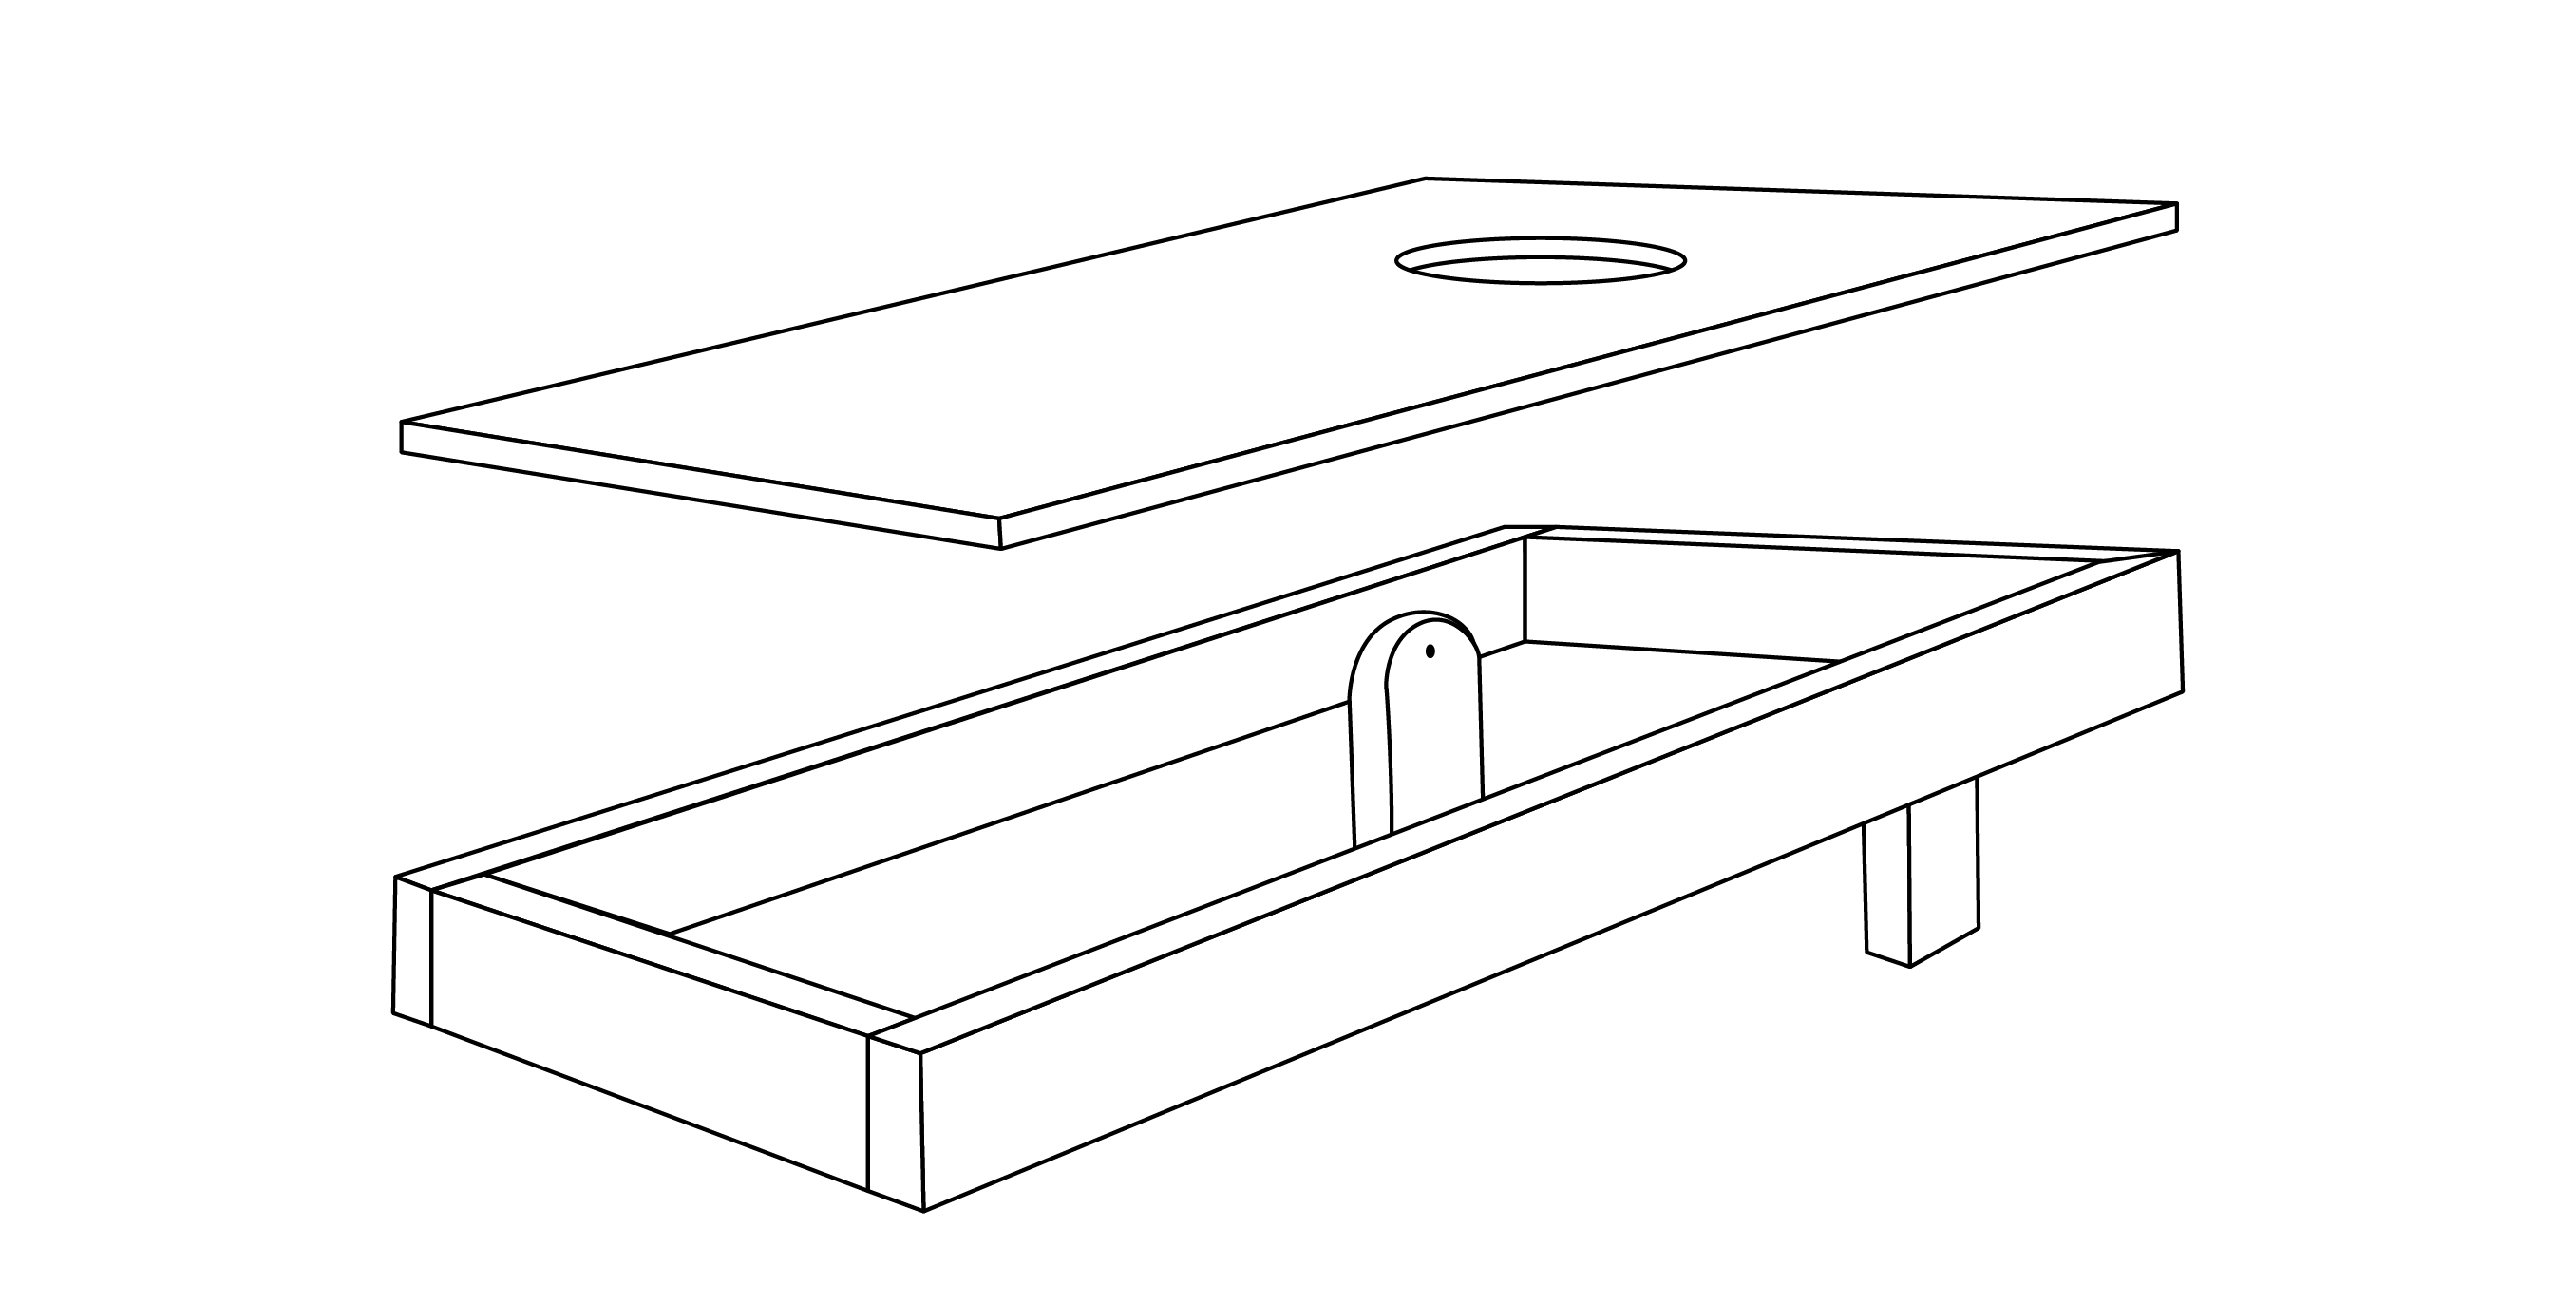
That’s it — you’re ready to play your DIY bean bag toss game! Find more fun projects here.
© 2020 Texas Farm Bureau Insurance

The 5 Most Haunted Places in Texas
Texas has a large share of disturbed spirits, bemoaning brides, and other ghostly phenomena — here are the five most chilling places Texas has to offer.
Saving Texas … One Drop at a Time
The typical family uses 60 to 80 gallons of water per person per day.
A Winter Guide for Planting Fruit Trees
Late winter is the perfect time to plant pear and stone fruit trees in Texas. Here’s how.
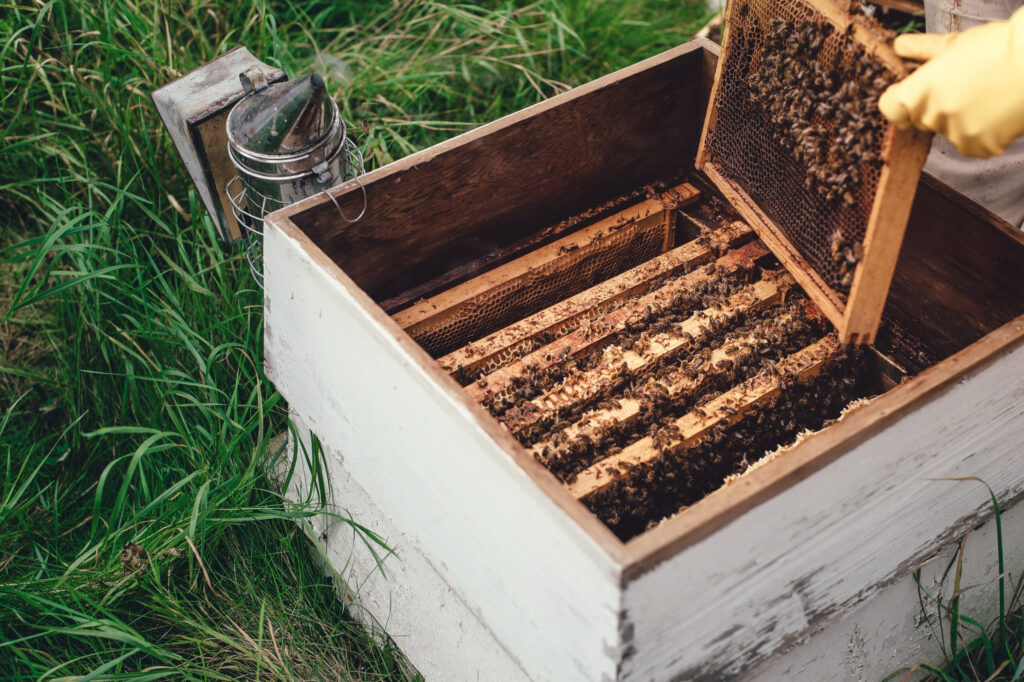
A Beginner’s Guide to Backyard Beekeeping
You don’t have to go full-on apiarist to keep some bees and make your own honey in your backyard. Here’s a beginner’s guide.
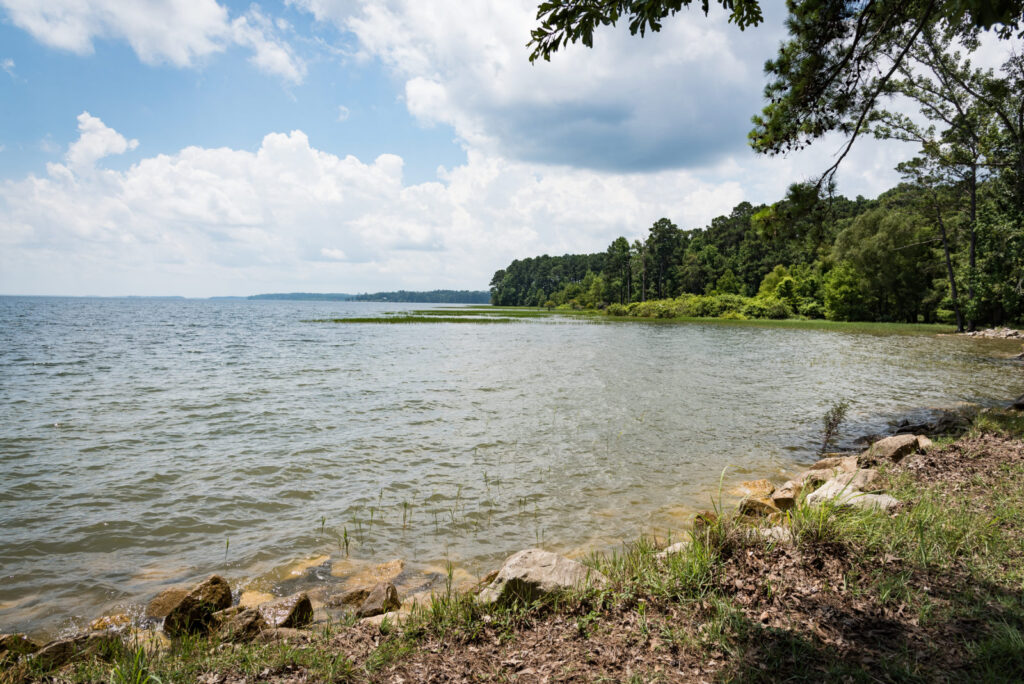
Noodling for Catfish in Texas’ Lakes
Noodling for catfish was illegal in Texas until former Gov. Rick Perry signed a bill permitting it in 2011.
How to Prepare Soil for Spring
When protecting your garden during winter, don’t forget to include the soil.